
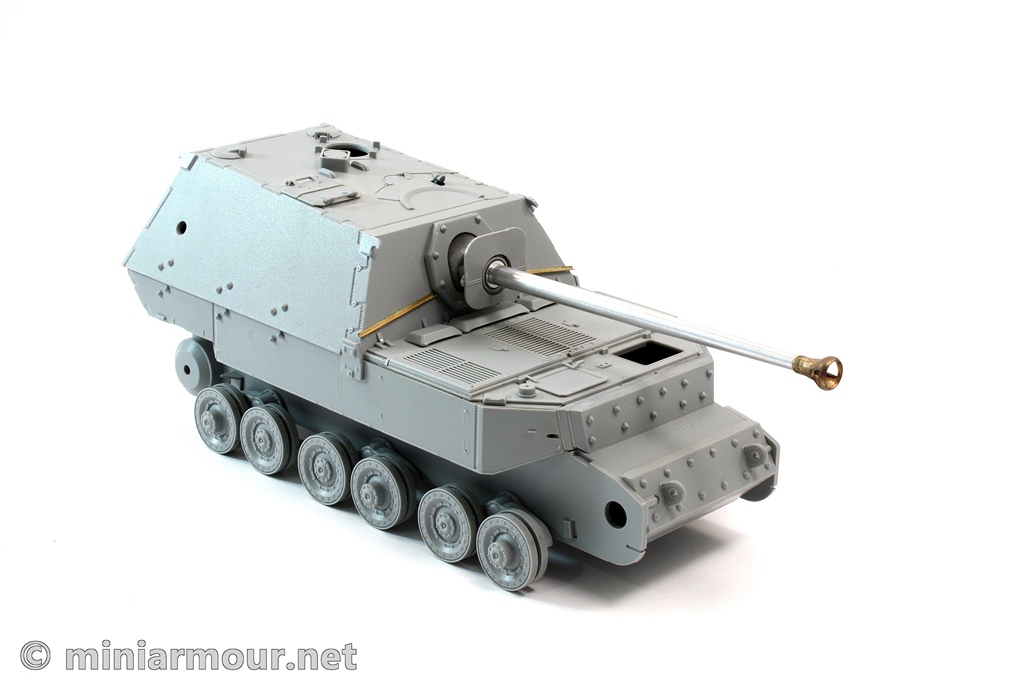
Ferdinand is another piece from my shelf queen collection.
It is Dragon kit, which is relatively new. When it first came out, I wasn’t very intrigued by this vehicle. Then I saw a die-cast model of it and somehow find the shape of the vehicle interesting got inspired. Additional inspiration also came from an article in one older issue of the Model Military magazine, which featured very nice build of this kit.
I have started the build already some time ago, what I liked about this model is that it has magic tracks, so there is no need to get an aftermarket set and the kit also seemed to have quite comprehensive set of photoetch parts. So all in all it sounded like it can be built without much of surprises. You can of course go crazy with your credit card and get complete interior, but frankly there is not much left to see even if you leave all the hatches open, so I decided to skip this.
One aspect of this build that will be tricky is camouflage. Ferdinand in this configuration has been deployed during the Kursk battle and there are few options. As usual, German dark yellow and then few patterns based on base dark yellow and camouflage pattern in green. The tricky part is that the green is either used in sort of web/line pattern or in rather strange shaped sprayed green blotches. Both patterns would most likely have to be painted in free hand, which is usually not that easy (for me at least).
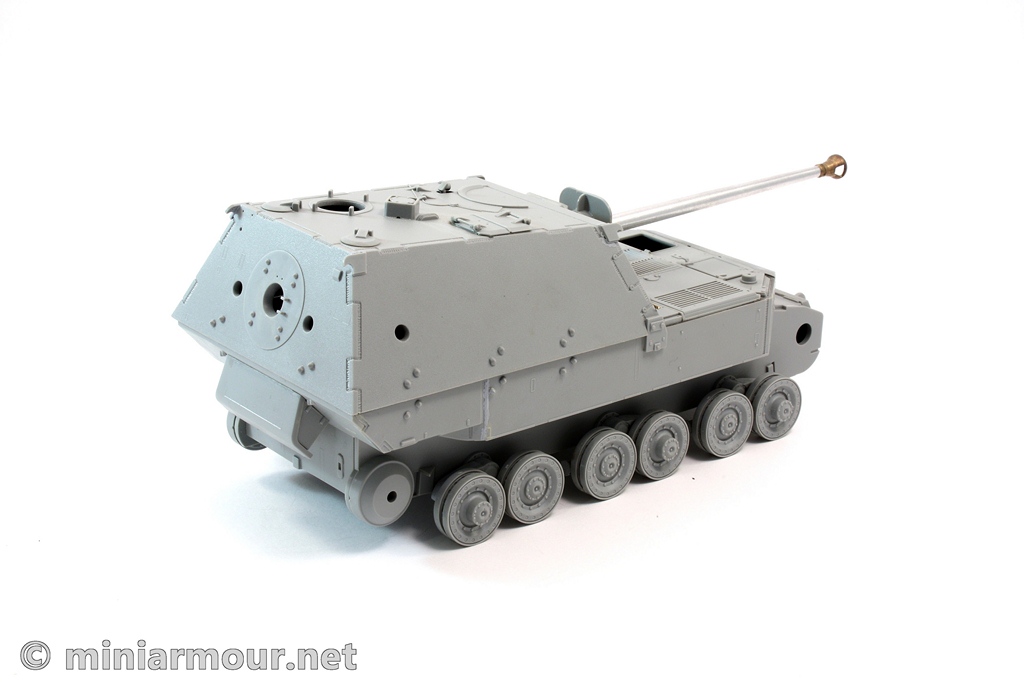
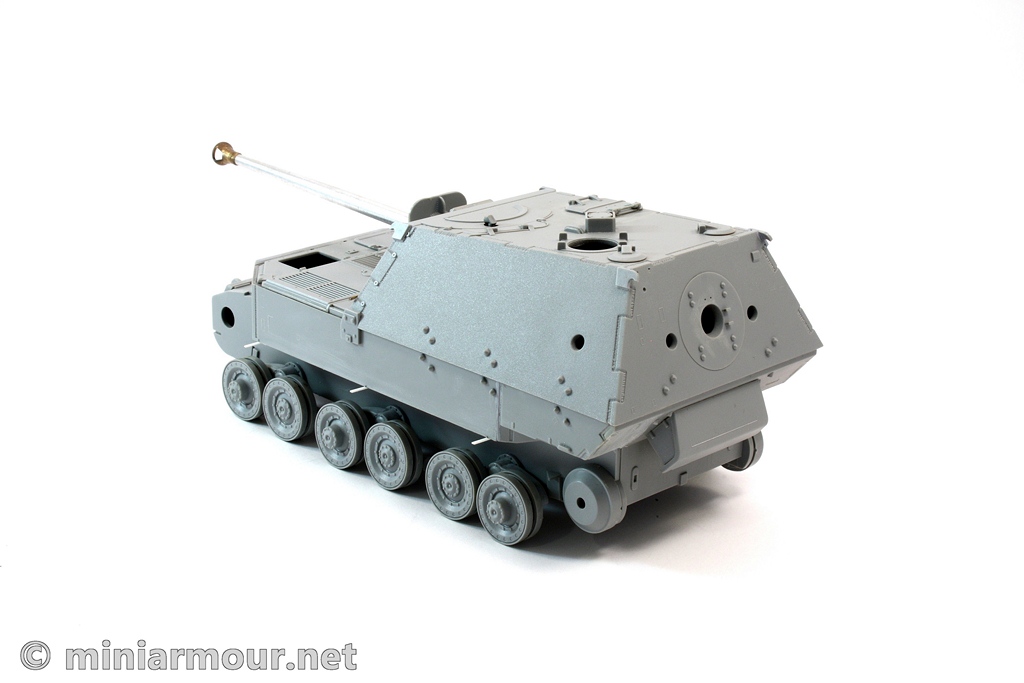
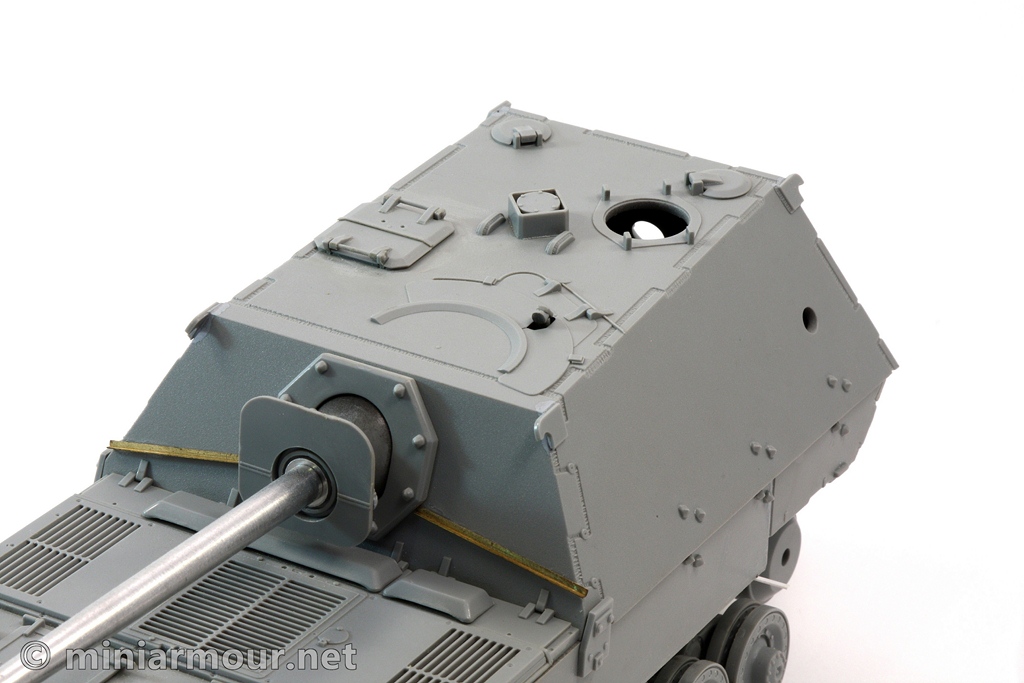
The construction of the kit is uncomplicated (as far as I can remember). I painted the interior of the superstructure in black, so that in case I would decide to leave any hatches open, most likely with some figure in it, there would be nothing visible from outside. Running gear is quite unique, but again not complicated compared to other german tanks in the same weight class.
One particular par of this kit that invites simulation of the battle damage are fenders, which are quite prominent on this vehicle. This of course means you will discard the plastic ones provided in the kit and use the photoetch ones. There is however one big issue with the kit’s photoetch fenders (of which I had some expectations) – they are just too simplified. One thing I found rather inexplicable is that in spite of the rather complicated shape of the fender parts, there are no bending lines indicated on the photoetch parts. This leaves you with a lot of guessing in terms of how exactly should each part be shaped. All in all, disappointed with this part of the kit I decided to get an aftermarket photoetch set, in this case from Voyager.
Voyager’s set (PE 35291) looks much better than the Dragon’s. The set is quite extensive and contains number of small resin parts (including jack) and metal (brass) parts. The fenders in this set are much more sophisticated in terms of construction. I would even say, little too much sophisticated. I studied the intended method of attachment of the fenders to the hull and decided that the best way to attach the fenders is to discard some of the Voyager’s parts and simply glue short styrene strips at the bottom of the sponsons (see pictures) so that they extend on the sides and let fenders sit on these strips. The positioning might be bit off, but this option seems to be by far the most likely to withstand manipulation with the kit during the subsequent phases of construction and painting.
So, having solved this issue I have cut and shaped the front left fender of the set. When dry fitting the part to the vehicle’s body I quickly found out that simply it does not fit. Somehow the angles and the size do not match the shape of the model. Quite disappointed, I set the kit aside not knowing what to do. I picked it up few times to make sure I did not missed something, but no, I didn’t.
So now I am in a situation where I am deciding whether to get another photoetch set, likely from Aber, this is usually most reliable. Given that one of the factors of the kit was the inclusion of photoetch parts, the saga with this kit is rather disappointing right now.
In terms of the aftermarket parts, I have also bought aluminium barrel, mostly because of the muzzle break, which is much better than the plastic one. I also got Ferdinand markings set from Archer, as the offer in the kit is bit limited.
This Saturday I ran into my friend Dave Bailey, who mentioned that this year’s armour theme award at Ajax model show are: Tank destroyers. So, there is another reason to have this one finished…
Categories: My models

1 reply »