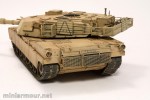
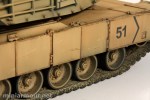
Having applied the AK’s wash thinned as a filter, I decided to use the wash unthinned to see how it is going to look. I was very much surprised and must say that I love this stuff. It is almost difficult to see it in the pictures, but the wash added significant depth to the paint job and made the tank starting to look like it has seen some action. I have applied the wash with a round brush (make sure to shake the bottle properly every few minutes) and then blended the wash with a flat brush moist with an AK thinner.
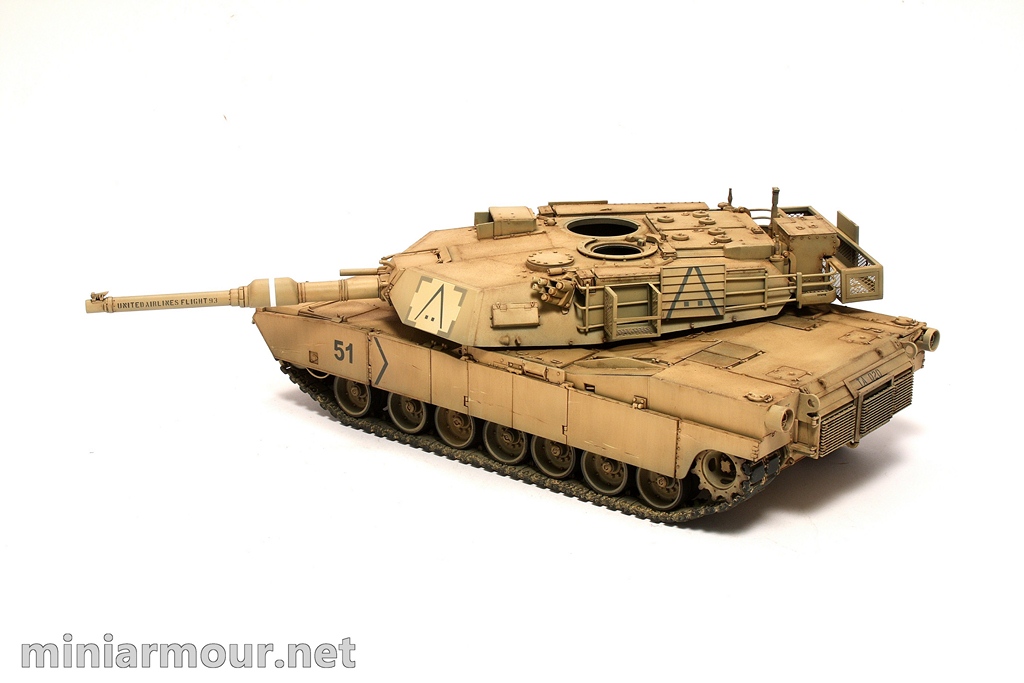
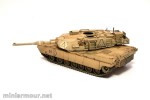
Time for decals. This time I went with aftermarket stuff and used Echelon’s decals as these gave me the option of using markings for vehicle with the configuration I have built – one with extended rear turret basket and EAU at the turret.
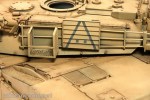
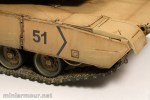
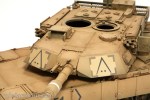
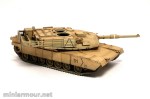
There was still one part from the Dragon kit that I had to use, actually quite unique one. M1A1 machines in OIF had identification panels on the front of the turret, which must have been made of thin boards with marking on them, but they were not that thin, so these could not just be placed on the turret walls. Dragon has solved this by providing the markings partially printed on a sticker. Yes, sticker. I think this was the first time that I have used a sticker on a plastic model and I guess also a last time.
Before using the stickers I have actually spent some time thinking whether using them is a good idea, but at the end I decided to give it a try. I could think of alternatives – namely cutting the same square shapes from think evergreen styrene sheet and just airbrushing the markings. If you are at the beginning of building M!1A1, I would recommend you do this. The stickers went on quite easily (if you still decide to use them, be carefull the left and right ones have different dimensions) and I have tried to protect them by a layer of gloss coat, but in subsequent weathering stages (using AK’s washes) the paper has absorbed a bit of a moisture. There are no visible marking left, but I haven’t really finished the weathering stage, so I’m not out of the woods yet.
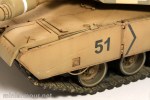
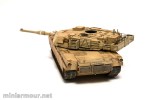
The rest of the markings went on rather easily. Of course I had not paid enough attention to notice that while the chevron on the left side skirts is to the rear of the numeral, the one on the right side is in front of it (i.e. both are to the left of the number marking). I have only noticed this when I have applied the Micro Sol on the marking. It has only been on for few minutes, but this was long enough to make the removal of the chevron marking a bit of the nightmare. First I have though that it is going to be easy, with a toothpick I was able to remove the upper part of the decal, however when removing the lower one, the Micro Sol has weakened the underlying paint layer, so that it got removed together with the decal…
Not a big deal, but still I was quite annoyed, luckily it took me less than 30 minutes to mask off the affected area and repaint it.
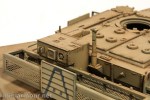
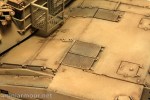
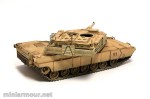
The markings on side skirts, front and rear hull went on without any other trouble. The decals to be placed on the identification panels on the side and rear of the turret were little more tricky, because these panels are made of louvres placed one after another at an angle (you know what I mean or check the photos). In order to made them attach to the surface, make sure to push them down gently with a brush or toothpick and of course use Micro Sol to fix them.
Once dry, I airbrushed layer of Vallejo’s matt coat on top and then another thin coat of base colour (1:1 mix of Desert yellow and white). The paint mix was really thin – only about 5% of paint.
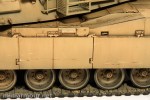
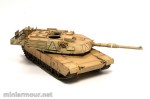
The last step so far was adding some scratches at the side skirts, this was done by hand using 3/0 brush and oils – Naples Yellow and Burnt Umber. The scratches are at this stage too bright, they will toned down by subsequent weathering.


Categories: My models

2 replies »