On Friday I made a quick trip to Hornet Hobbies, as I learned that my friend Dave was already stocking a kit I was waiting for – Conqueror from Black Box. Somehow I love the shape of this tank and in spite of the fact, that the tank did not see any action (as far as I know) – it was essentially a Cold War era vehicle, I think there is something in it that makes it stand out.
The question of course was how good the kit is, being the released by Dragon under its new Black Label line. I could not resist and started building it right away. So far I have spent about 6-8 hours with it during the weekend and below I offer my first impressions about the kit. It is by far not a full review, I have not finished building the model yet, but rather list of things that I consider to be its highs and lows. I completely omit speaking to dimensional accuracy, I leave this to the true experts and rivet counters out there….
Highs:
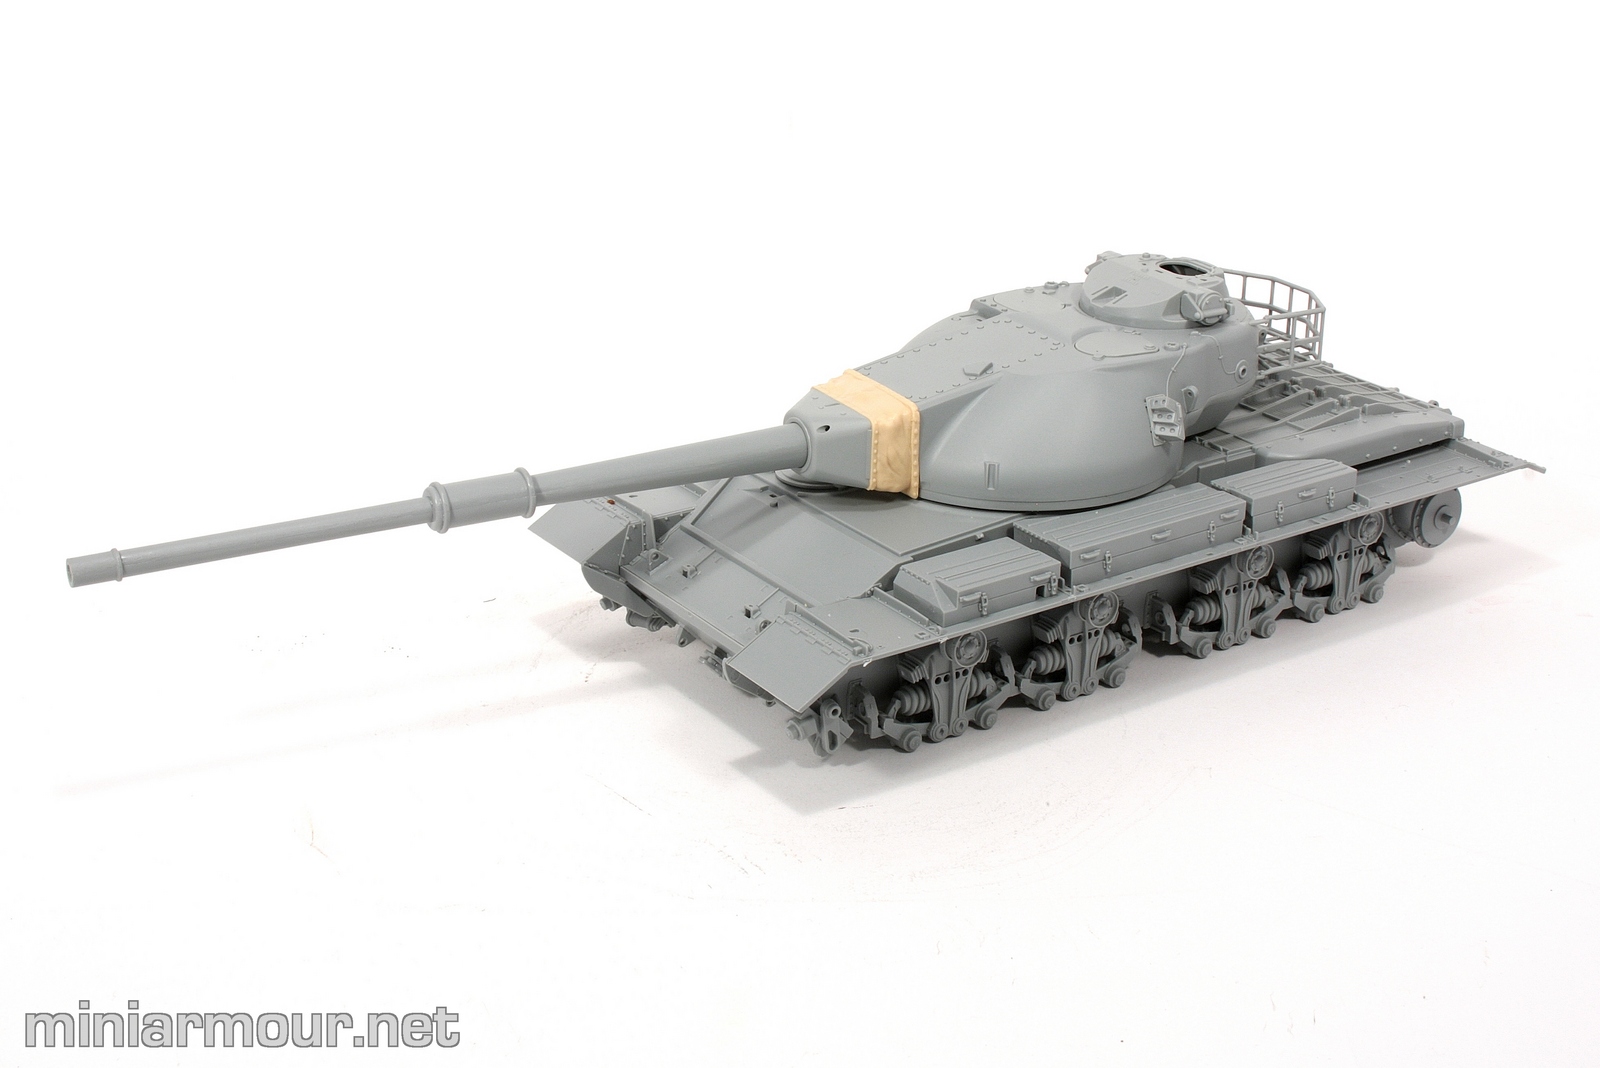
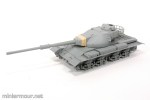
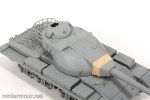
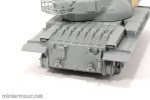
– Excellent fit. Parts snap together Tamiya style. There was very little that needed to be sanded/filed to make parts fit. Essentially I can only recall two – rear hull plate and driver’s hatch (one of the two holes on this does not align perfectly withe the hull). Fit is especially perfect around the gun mantlet, where dragon provided flexible vinyl part which fits snuggly to the plastic ones. Stowage basket at the rear of the turret also falls together without any problems.
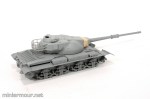
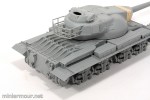
– Great moulding. Upper hull and upper turret are two parts where this stands out and shows what modern technology can achieve
– Limited number of parts. This is going to be another quick build. I have essentially built most of the vehicle already, though quite a few details are still to be added.
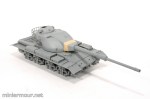
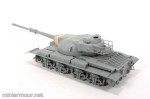
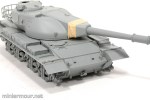
– Size. This thing is huge. The length is 33.5cm overall.
Lows
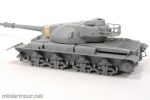
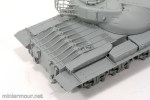
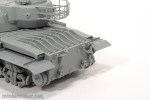
– Simplification. There are quite a few places, where Dragon has dumbed things down. A lot. In most case these are handles – there is like 25 of them, which are moulded solidly with the rest of the body. Some of the are more, some less visible – see pictures, most prominent are at the rear end of the top hull plate. Frankly, this is not good enough for me. This is not the level of detail I expect from $80 model kit in 2015. This is level of Italeri from 20 years ago (Sorry Italeri). Period. I will definitely look into removing them and replacing them with something scratchbuilt or hope for an aftermarket to come up with detail set. Another place is tow cables – normally I expect tow cables eyes to be inserted into the brackets and locked with a pin. No. In this kit the mounting brackets are moulded with the pin solidly in and to be able to place the cable eye in it, the eye actually has a gap at the tip, so that you can snap it on… Seriously? Again, 20 years ago – maybe. Today – no way!
– No photoetch. I think that reasonable amount of photoetch can add a lot to any kit. I can’t help, but lack of it in this kit makes me feel the same way as with the Saladin – it just feels that the level of detail is not what it could be, that the model looks bit “toyish” rather than serious model. I am missing that piece, that makes good model great and great model a show stopper.
– Two-part plastic barrel. Barrel is huge in this kit and will be prominent on the finished model. Fit of the two halves of the barrel is OK (though could be better), but I will definitely be getting myself metal barrel as soon as it will be available (I only attached the plastic one temporarily, to show the vehicle with it. Now there might be one extra problem with the barrel. The plastic barrel does not slide into longer sleeve to fix it in place. It has to be glued in depression which is only about 1-2mm deep, which is going to be problem with metal barrel – given the leverage and weight, I am afraid that just gluing the metal barrel in place with super glue will put too much strain on the join and it will keep breaking apart. Solution could be cutting off the plate that blocks the opening for the barrel and slide it in – provided that the barrel producer gives us the extra length to do so.
– Tracks. These are the DS tracks that Dragon uses often these days. It feels bit soft in detail, though this might be that the original tracks really look that way. In any case, this is another part to be replaced with Friul or some other alternative.
– Side skirts have to be mounted in place. As far as I can judge from the pictures I was able to find online, there are some parts behind the skirts on the real vehicle that are not provided in the kit. So the only solution is to use them, which is bit unfortunate, I think the running gear looks great on this model with a lots of detail. Again I stand to be corrected by experts on this one.
– Absolutely no interior. This one bugs me less, as usually I don’t care for it, but some others might.
Overall, while this kit looks cool and quality of moulding is great, I am quite disappointed with the way Dragon is simplifying things. I find the compromises they made to achieve ease of build inexcusable in current era of plastic modelling. Dragon seems to be targeting only modellers looking for quick and simple builds, no complications, no small parts, no photoetch… For anybody looking for that extra detail, prepare for some extra work and extra cost.
So that’s my take. I would be glad to hear from others what they think about this kit….
P.S. For anybody building this kit, make sure to check excellent reference photos here.

Categories: My models

2 replies »