
After I have applied decals two days ago, I added few steps to the model:
1. Gloss coat over the decals – this is to protect the decal from the subsequent painting and weathering steps and marry the decal finish with the surrounding area. Without this you could distinguish the outline of the decal, as its gloss level would be different from the rest of the model surface.
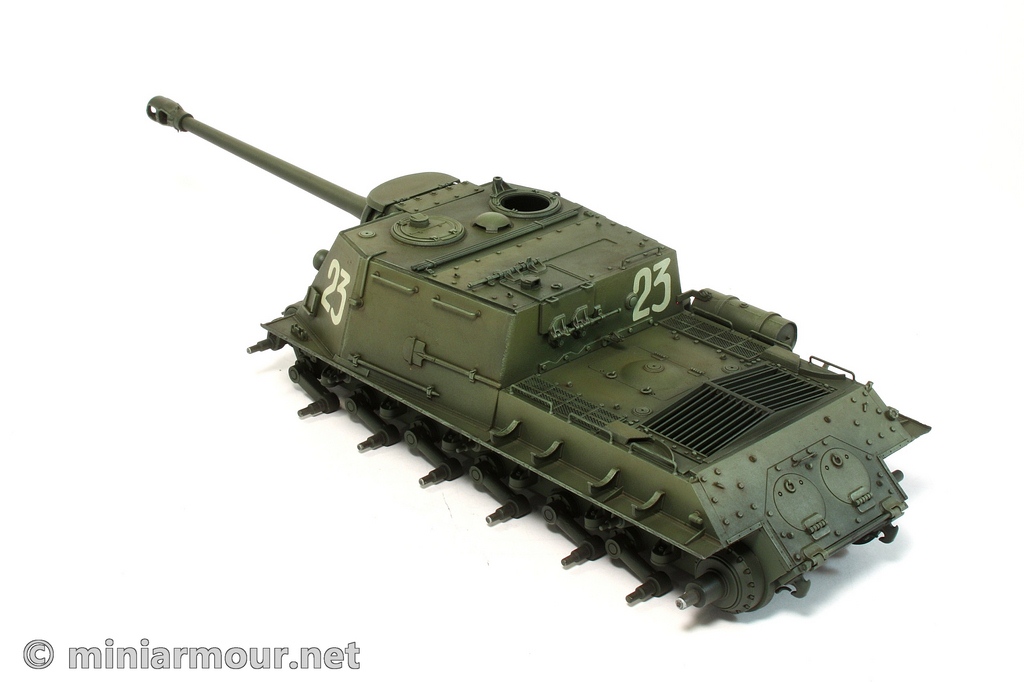
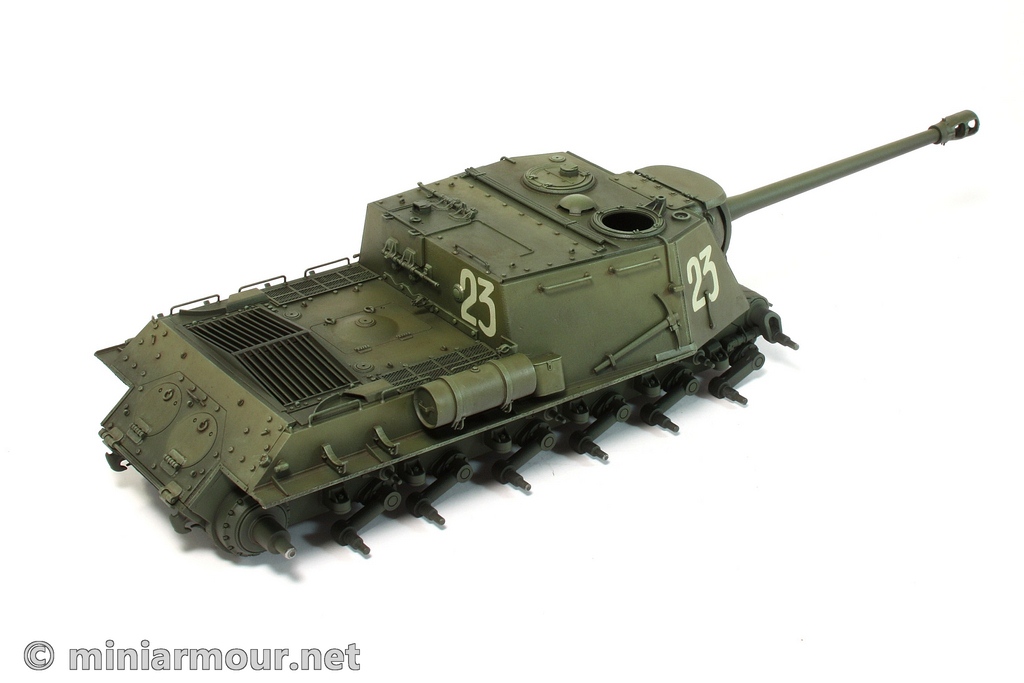
2. I airbrushed very thin mix of Tamiya Yellow Green and J.A. Green over the decals (again the mix was just a thinner with a touch of paint to avoid building the paint on the model too fast). This is to reduce contrast between the decals and the colour of the model. Without this the contrast would be too high. Especially if you are adding quite a bit of wear and tear, having a pristine marking on the vehicle would be, well, illogical. Note that the colour to be used for this contrast reduction should be the one in which the model is painted.
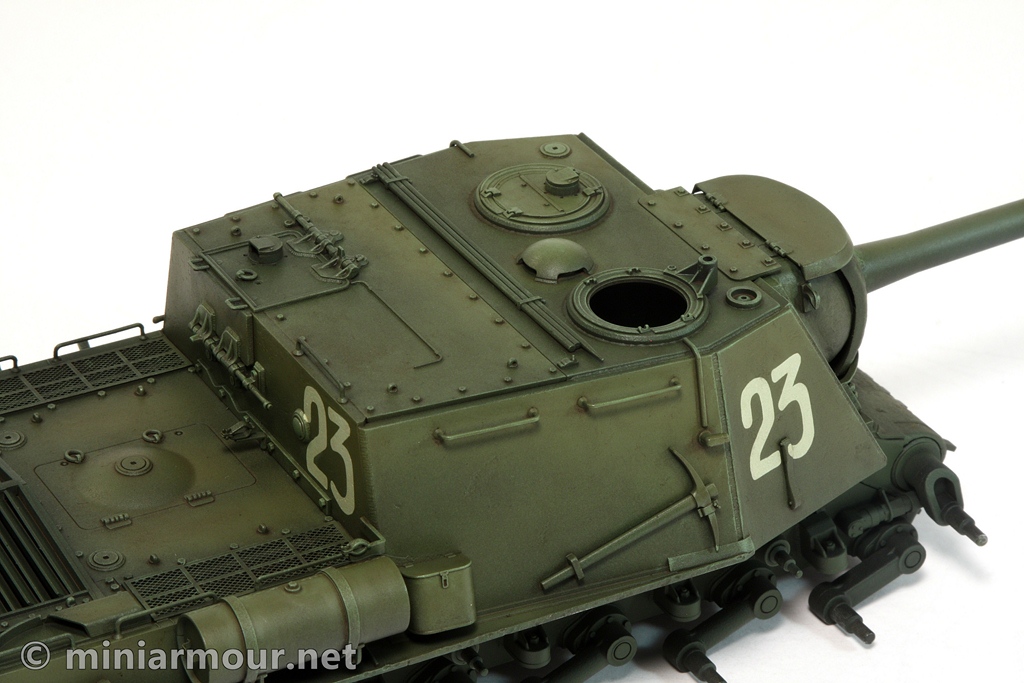
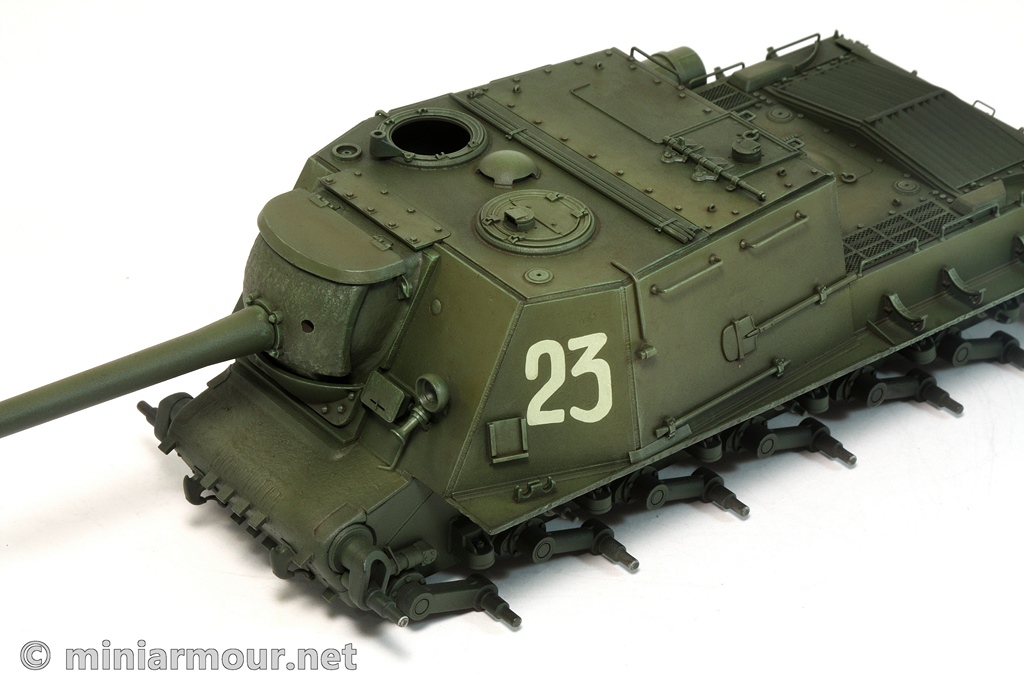
3. Wash – I have used Dark brown wash for green vehicles from the AK series. Because it was bit too dark, I thinned it with my Sansodor oil thinner. Somehow the thinner doesn’t seem to be working very well with the wash as the mix had a consistency of dust-in-the-water. Nevertheless it went on quite well at the end. I had to control the effect on the larger areas as the wash had tendency to darken it too much.
Once dry, it looks well, though I will strengthen the effect by adding a localized pinwash using my trusty artist’s oil paints.
4. Drybrushing – now this is one controversial technique. Since a number of new weathering techniques appeared over the past years, drybrushing is falling out of favour. I believe that most of the dissatisfaction with this technique has more to do with the way it is applied – in many cases the contrast between the drybrushing and the underlying colour is simply too high – the extreme cases are the ones when white paint was used for drybrushing resulting in a “frosty” look.
The solution is simply to manage the contrast and select the right colour to be used. I have used mix of Chromium oxide and Naples yellow to give me lighter shade of green, which is still rather warm (do not lighten with white, the resulting colour will be too cold).
Since I have rather a lot of contrast between different areas of my model, I have actually mixed few shades of the colour to be used on the different parts – depending on how light the area is painted, so that the contrast wouldn’t be excessive. Once applied correctly, drybrushing brings out the details on the model, which would otherwise be without sufficient contrast compared with the rest of the model, resulting in much more “boring” look.
At this time, the contrast is little too high, but this will be reduced by the subsequent filters and other weathering steps.
Categories: My models

2 replies »