
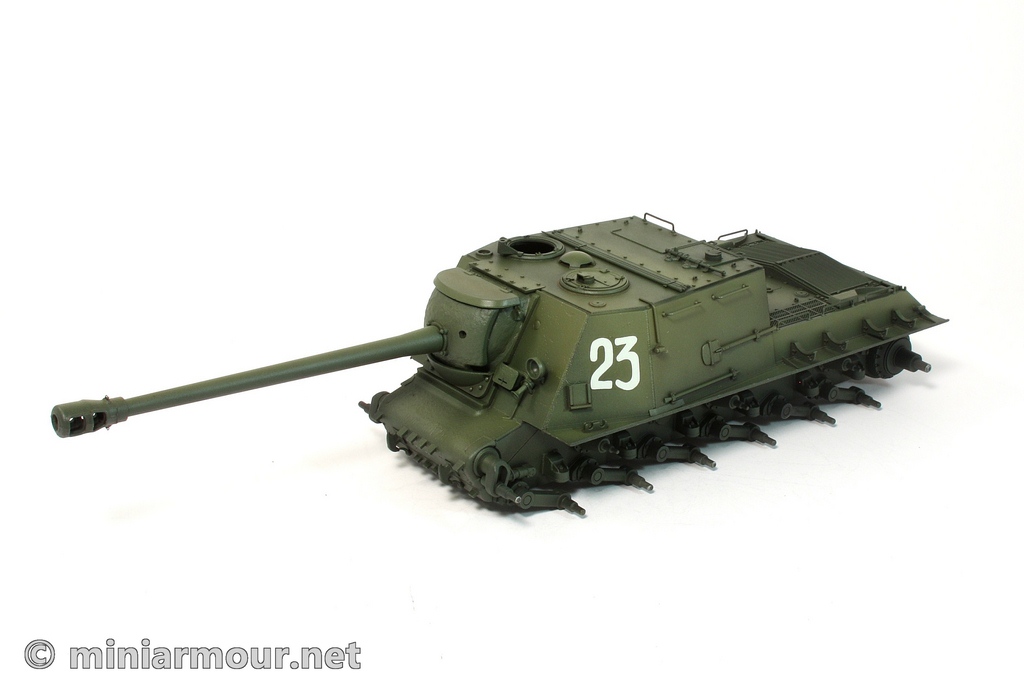
When I was looking at the JSU after a week’s break, I felt that the base colour is little too cool (too much of blue in the green shade). Intent on making it warmer, little lighter and on reducing the contrast just a tiny bit I modified the base colour. This was done in two steps:
First I have airbrushed a very thin layer of the Tamiya Yellow Green (FX-4) over the whole upper structure and sides. I mixed the paint by adding thinner into the airbrush cup and just dipped a small brush in the paint jar a bit and then essentially cleaned it in the thinner in the airbrush cup. Airbrushing this extremely thin mixture considerably achieved the effect I was looking after.
The second step was application of a filter – this time I have tried a new mix. I mixed my trusty Burnt umber with the Chromium oxide green. This particular shade of green is in my opinion very close to “military” shades of green. It is warm, earthy colour and in the oil version is used by landscape painters – exactly what is needed. This filter was again applied on the surface using a medium-sized brush, avoiding “flooding” the surface and making sure that the filter does not accumulate along the bottom edges of the superstructure (to avoid marks and darker spots once the filter dries).
I always apply the first filters before the following steps – gloss coat and decals. Since I do not want to apply gloss coat over the whole model before applying decals, but only on the places where the decals will go, the filter has to precede the gloss coat. Otherwise you would be applying the filter over the surfaces with different level of gloss and thus with different absorption properties – around the decals the filter would not affect the underlying paint as it is protected by the gloss coat, but where the gloss coat is not applied, the filter would change the tint of the base coat. (you can of course avoid this by applying gloss coat over the whole model, but then the filter is useless as it will simply flow on the surface and it will become a wash and not a filter).
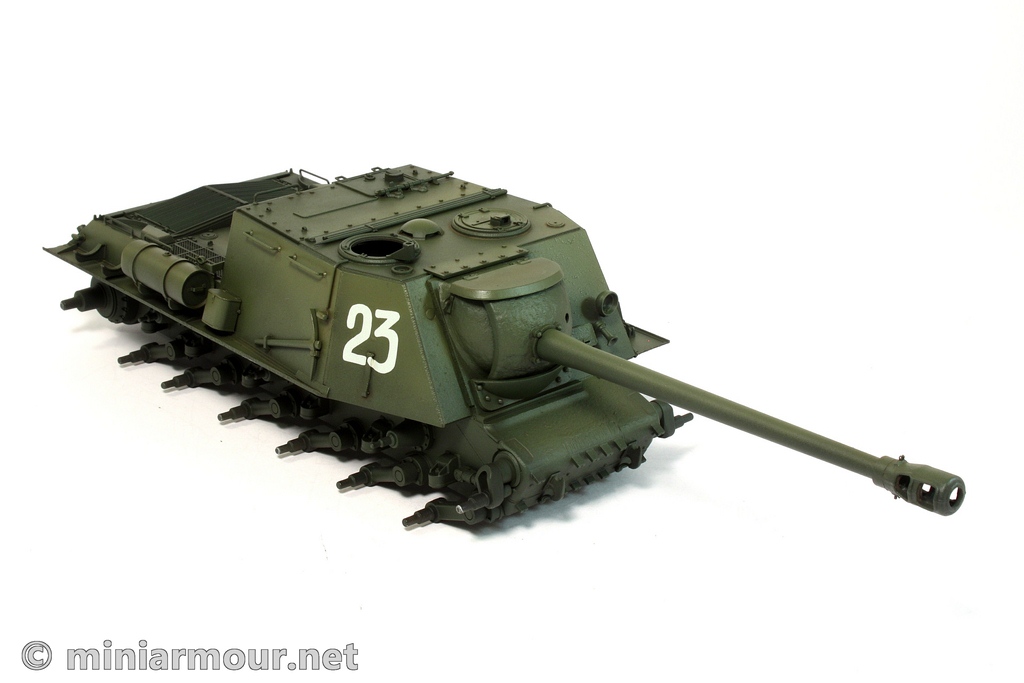
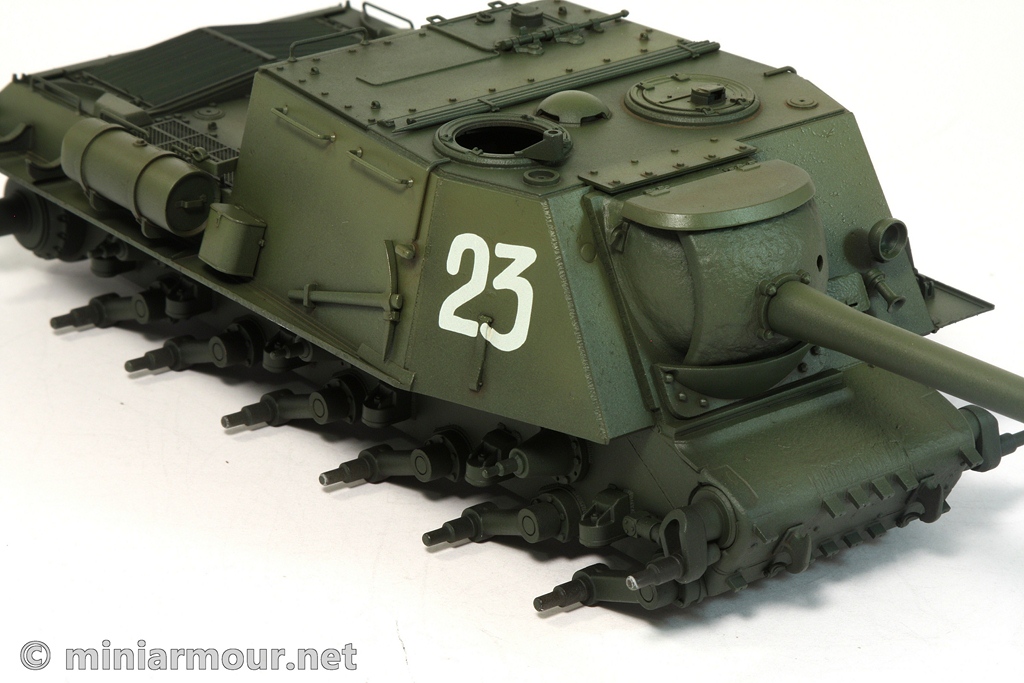
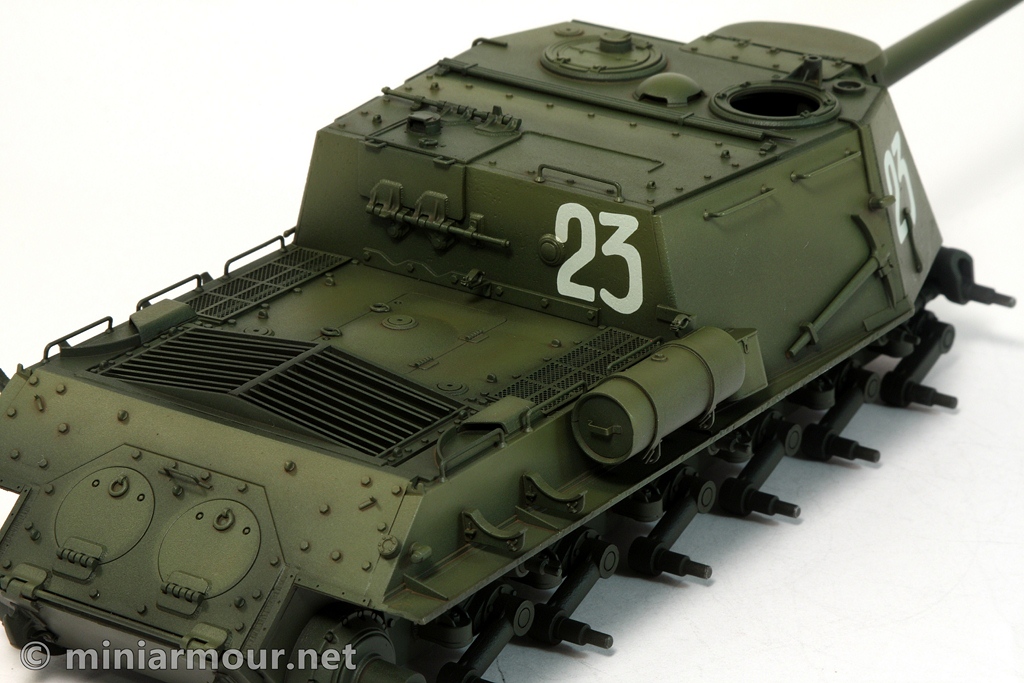
The decals used were the ones from the old Dragon kit. I applied them using the standard process using Micro Set & Micro Sol solutions. They went on very smoothly and even on the right front, where the decal was applied over the quite protruding part on the side of the hull, it adhered to the surface amazingly well. I just had to spend about an hour repeatedly applying the Micro Sol with a fine brush and gently eliminate any folds and bubbles underneath the decal.
Categories: My models

Hi Mr. Adamec. I’m currently putting together a ISU-152 (Zvezda) and I tried your choice of colours (JA green, Yellow Green, Buff and filter with Chromium Oxyde Green filter): It worked beautifully! I’m quite pleased with the result so far. Keep on the the great work on your blog: it’s VERY inspiring! 🙂
Hi Yanick. I am glad to hear you find my work inspirational and helpful. Thanks for taking the time and writing a comment. Cheers, Vlad