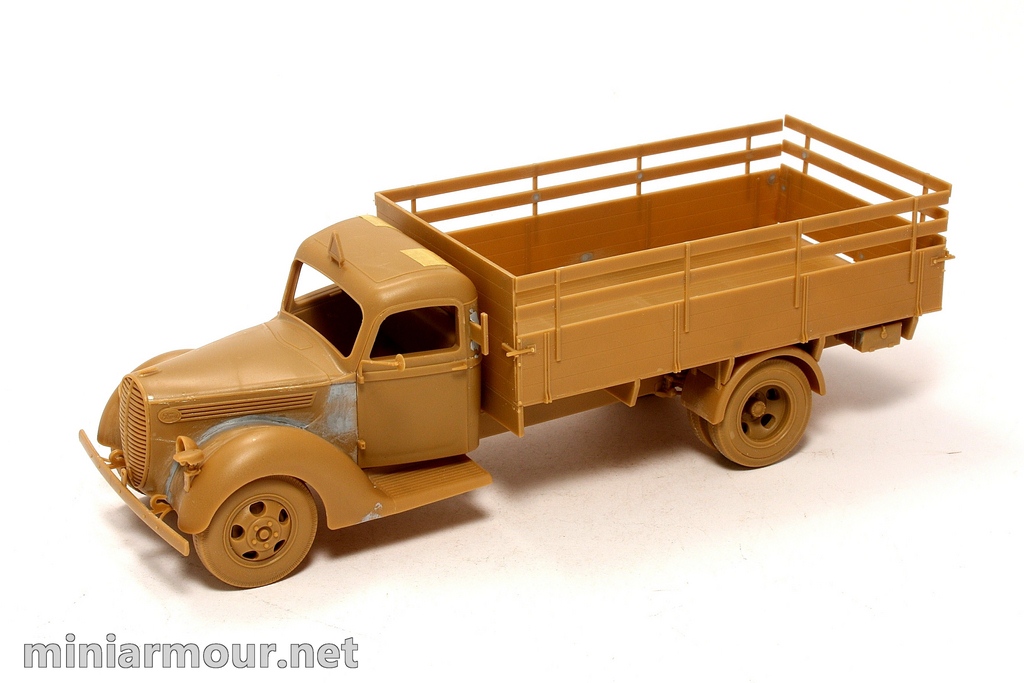
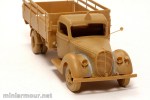
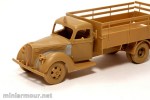
As I have recently mentioned in one of my posts, during my recent trip to a hobby store I have picked up one recently released kit – ICM’s G917T. The vehicle has Ford logo, but I guess because of the trademarks, ICM could not market it as a Ford vehicle on the box.
In picking up this kit I was inspired by a fellow modeller’s blog (see here) who has built and painted this model in very authentic way in my opinion. I have never built anything from ICM, so I wanted to give it a try as the project had a prospect of not very complicated build and attractive look.
So first, just few words on my impression of the kit. The kit is actually quite good. Individual parts fit together very well in general and I haven’ encountered any significant misalignment or gaps. There are few cases when there is a locating pin on one part, but the corresponding hole for it is missing, but it is not much of a problem as the positioning is quite clear. Few parts in the instructions are mislabeled, but again, given that parts count is not that high, figuring out the correct part is rather easy. the instructions are rather simple and straightforward, the paper on which they are printed is perhaps the thinnest one I have encountered so far, but again not an issue for me. Separate black and white sheet is provided for color schemes, these comprise few schemes in grey from the eastern front as well as one dark yellow over grey from North Africa.
Decals seem OK, there are usual markings provided as well as the dials for the drivers’ dashboard. Now, I have tried these and somehow the decal felt a little stiff. I tried my usual process of Micro Set / Micro Sol application and even this trusted method has not completely softened the decal as is my experience in normal cases. At the end, the decals sit quite nice after having them dry overnight.
In the construction, I have mostly skipped the engine parts and built only as much of it as was required to fit other visible parts of the model, with the front hood closed I did not see the point in spending time on it. Chassis assembly requires some care as correct alignment requires correct fit of multiple parts (having few more hands would help here), so I have ended up with the basic frame not 100% square, but this can be remedied at least partially later when attaching the frame to the other parts (cargo bed).
Because of the visible interior of the cab, I only attached engine hood to the front cab wall and left out rear wall separate until after painting. I have left out few minor parts on the cab – shovel mount on the left side, the mount is bit heavy, so I decided to go without it. On the right side is a place for a jerry can holder, but again the mounting is provided in plastic in two very fragile parts that need to be glued together. While the molding is not bad, I still don’t like it enough and I just filled in locating holes and sanded the surface. I must say that providing small photoetch sheet to replace these parts would really go a long way in this kit as it would bring it to a different level of detail.
The cab details are quite OK, the driver/passenger bench could have bit more sculpted leather top, but again, there won’t be much of it visible once I dust the windows.
The cargo bed walls are nicely done. No wood grain structure is provided, which I think is better as in the 1/35 scale anything molded would be out of scale. The fit is very good and overall look is nice. There are 2 frames for the tarps provided – but these are to be just stored in front of the cargo bed. Given that again they were bit too heavy and one of them was already broken on the sprue I may just leave them out.
Wheels are nicely detailed, but you will need to remove molding lines around the circumference. There is only one issue – on the rear wheels there is a gap between the inner and outer part of the tire, this will need to be filled in.
I have tried to mount the front wheels to the axis to see the fit and positioning of the parts together. As the wheels did not hold, I applied a bit of the super glue. Or rather bit more than a bit as I cannot remove them now… so will have to paint already assembled on the chassis.
Overall the construction was quite simple and easy and I am looking to painting…
Categories: My models

1 reply »