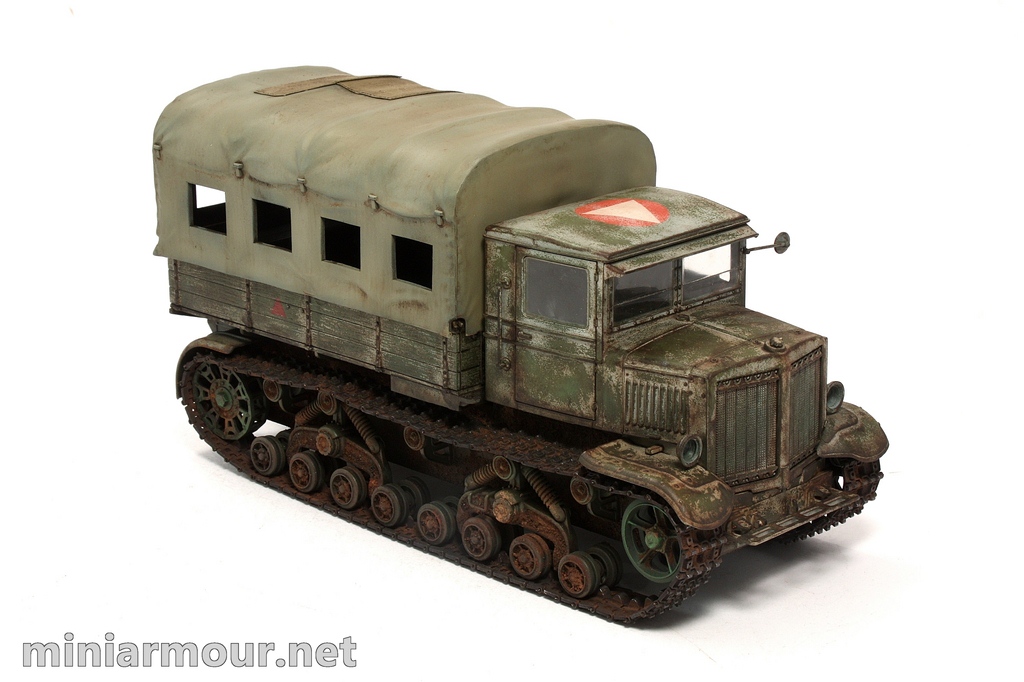
Yesterday I picked this model again, intent on getting it to the finish line in hopefully near future. I have finished the tracks, which were painted in the mix of black/brown base colour. I added light overspray with Tamiya Khaki Brown (XF-51) to make the tone bit more natural. Afterwards I have applied Dark Mud Pigment from the Mig range. I applied it both to the inner and outer side, the inner part was covered lightly and the pigment was then spread along the track using makeup sponge brush and my fingers. At the end, most of the pigments were accumulated in the gaps between track links and in around the details such as guide horns.
On the outer part, I have spread the tracks on my table and using a medium brush dipped the pigments generously, but randomly on top of it. Then I used larger brush and fixed the pigment in place by touching the tracks with the tip of the brush and let the capillary action spread it. This was done to avoid smearing the pigments, but let them accumulate naturally.
As a las step I have applied AK’s metallic Dark Steel pigments. As I only wanted to apply it to the edges and raised parts of the tracks, I applied it just using my finger. This did not disturb the pigments applied before but created nice contrast with them.
In painting the tracks I tried to keep the colour palette limited as I am after the muddy look, rather than the dusty one. I might add local application of lighter pigments such as Mig’s European dust, but this would be only light and controlled, to keep the effect limited.
I have then added the tracks to the model. Actually before I have done this, I applied one more layer of pigments to the side of the model behind the tracks and running gear. Using also lighter pigments, I will need to tone down the contrast a bit to achieve effect as described above.
The way I actually add Friul tracks to the model is simple – I assemble the tracks and don’t close the loop. I paint and weather it as much as can be done before mounting them. Then I insert the tracks to their place around the idler/sprocket wheels and running/return wheels (Model of course has to be fully painted and weathered by this time. Some weathering may be added later, but reaching the places behind the wheels and tracks is tricky at that time). I then put the model upside down, being carefull not to break any details on the top and insert the last pin connecting the end track links – piece of wire which I then cut with cutters. I think this is the beauty of the Friul tracks, as you basically will never have problem with track being too long/too short/not fitting the wheels/etc. You can always go back and remove or add links as desired. For any serious project I use Friul tracks to avoid any problems and have great track detail.
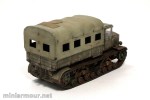
Tracks went on smoothly, I have also added the driver’s cab to the body of the tractor. I was for some time looking for the driver’s dashboard part, but must have lost it somewhere… WIth the little light passing through the cab windows, which will be even more reduced by dusting them, I have then concluded that there will be very little visible of the interior and just omitted it.
The tracks will need to be touched up to add some more pigments and then will fix it all with the pigment fixer.
Some day ago I have also painted the cargo bed cover, I don’t recall exact colour, but it is light green, little too cool as I see it now. I have weathered it with AK’s Brown wash for green vehicles, but will need to add light coat of colour such as Khaki Drab to blend it more with the rest of the vehicle and add some colour variation and richness to the finish.

Categories: My models

2 replies »