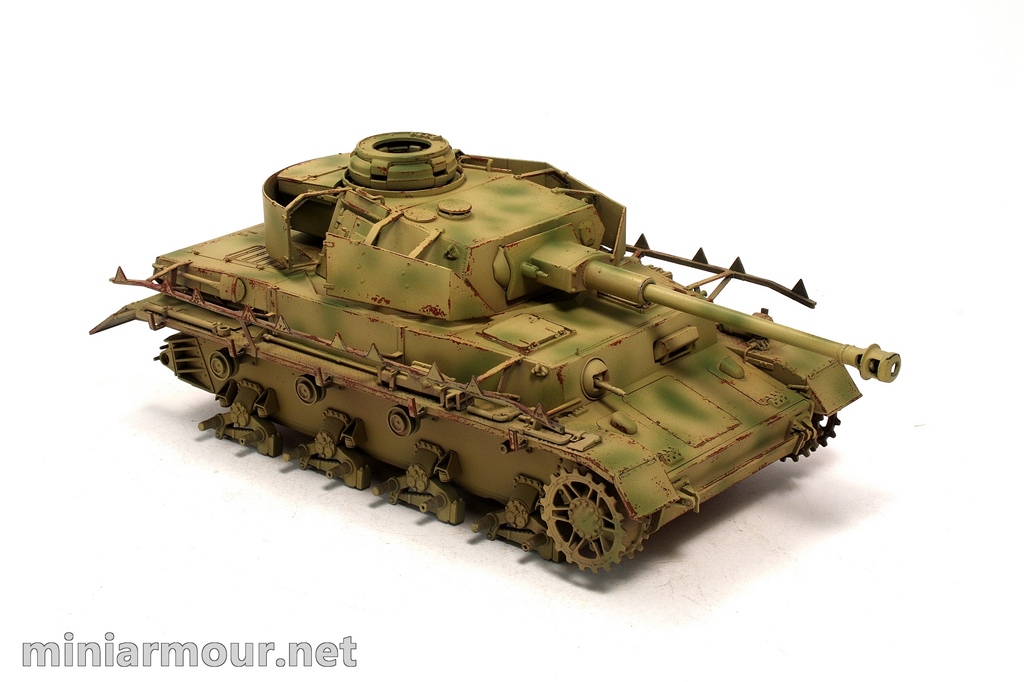
Everything ready for chipping I exchanged the airbrush for a paintbrush and clear water and went on a few day’s chipping spree…
Again, as I have already mentioned, I greatly benefited from the experience of seeing Mike Rinaldi in action and have been ready to solve some of the problems I have encountered before. I have not applied any clear coat before the hairspray nor did I mix any Tamiya Clear into the underlying paint layer. In spite of this, I was able to achieve the chipping effect better than before. The process was simple, though it differed a bit depending on the time passed since the application of the Dark Yellow coat.
When doing the chipping immediately, the chipping was going quite fast as the paint has not cured and I actually had to be careful not moist the surface too much, otherwise the paint lifted in large chunks. After a day or two, the chipping was more difficult and I had to wet the surface and let it soak in for a moment, before I was able to create the chips.
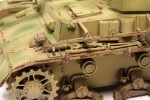
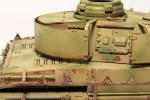
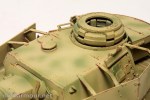
As is often being said, the chips have to be placed at logical places, around edges, hatches, on points where the paint would be subject to wear. This has mostly worked OK, though there are few places, where the chips should perhaps be bit smaller.
After all this chipping, this Panzer looks completely weird – Chipping indicates that the vehicles saw extensive action and outside of the vehicles reflects prolonged use, but the underlying paint coat is almost pristine as if straight from the factory (modern psychology actually has a term for this effect – cognitive dissonance).
So the next step is to going to be bringing little more harmony and consistency to these varied effects.


Categories: My models

2 replies »