The story of markings on this model is rather longer one…and informative too, at least for me. At the end I have not been able to do what I originally intended, but in the process I learned few useful things.
At the beginning I have asked a colleague of mine (who is from Iran by origin) to translate some of the vehicle slogans from photographs to understand what they are actually saying. With his help I actually learned quite a bit about Arabic language and was able to decode some of the hand painted markings and slogans on the vehicles.
My original plan was of course to replicate some of these original markings on my BMP. The question was how can this be done. There were few options I was thinking about.
1. Decals/Dry transfers
I was hoping there might be a decal/dry transfer set available from some producer that could be used, however I wasn’t able to find any. Archer has few sets of vehicle slogans in Arabic, but these are from the Lebanese wars. They would definitely look cool on the model, but would be totally inaccurate and anybody able to read Arabic would most likely had a good laugh…
2. Print my own decals
I thought this one is going to be easy. I have downloaded few Arabic fonts from the internet and printed them on paper to check how they look printed. They might have been too perfect, but I could go with it. I bought a clear decal paper in the hobby store and intended to simply print the text on the decal paper. When I have read the instructions on the decal paper, I found out things are not going to be that easy. Problem is that I would need the slogans to be in white, or similar bright color. However, regular home and office printers do not print white, it is assumed, that you are printing on white paper (which is the case in 99.99% of the cases, guys like me being the remaining portion…), so when there is white to be on the paper, printer simply prints….nothing, because the paper itself is white….So no luck there.
I found out there are companies offering custom decal printing online, but the cost is not economic if you need to print one sheet.
3. Hand painting the markings
Maybe if I would have been skilled in handwritten Arabic, I could do this, but nay. With my only skill with Cyrillic alphabet, I gave up on this.
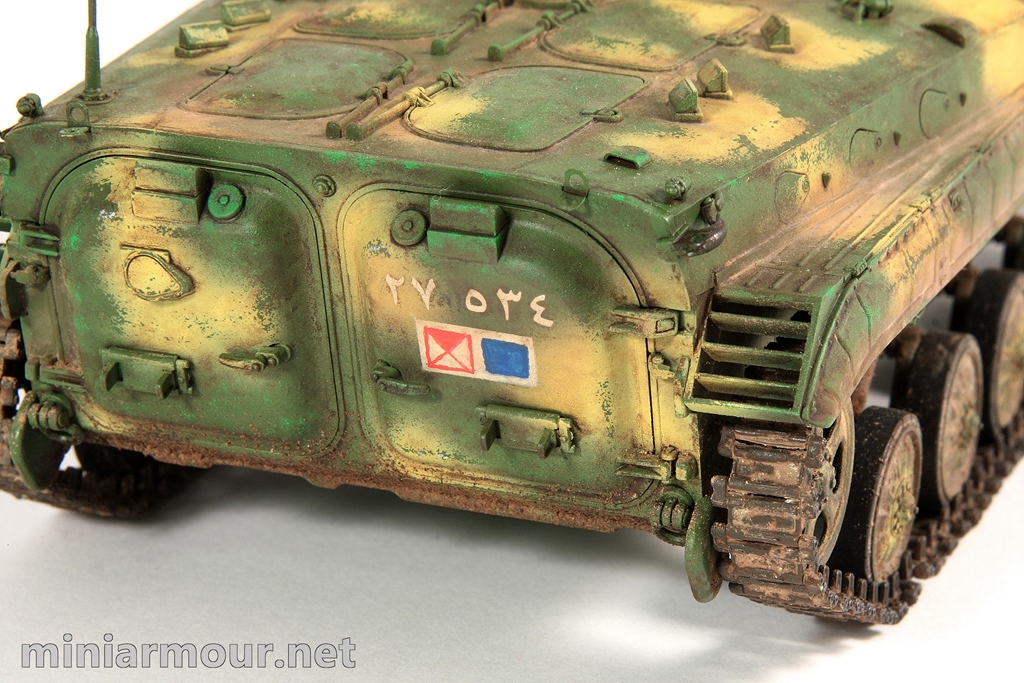
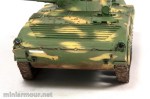
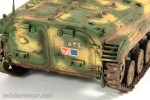
At the end I have decided to scale down my ambition and use Archer’s Arabic numerals and combined them with hand-painted Syrian Army unit marking. These markings can be seen on number of photographs from Syria and are combination of geometric shapes on white background. On the actual vehicles they are often hand-painted, so the imperfection would be authentic.
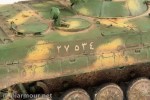
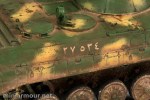
I choose the placement of the markings based on the photos I have seen. Numerals were easy to apply – just follow archer’s instructions (see photographs from the application below). The unit markings were done in few steps – first I have tried to paint them just on a piece of styrene to make sure I can achieve the correct look. From this test I have learned that the most difficult part is actually to paint the white background, so on the BMP I have used alternative approach – I have cut a simple rectangular mask from Tamiya masking tape, which I placed on the model and airbrushed white background.
I have then removed the masking tape and hand-painted the markings using Vallejo paints and fine brush. The final look is in my opinion quite good. After the markings were applied I have airbrushed very thin layer of Tamiya earth-colored paint ( I think it was Flat Earth or something similar) over the top to tone down the brightness of the white color, otherwise they would simply not blend with the rest of the weathering effects.
Categories: My models

2 replies »