
I have added few touches to KaMi some day before my last week’s trip, mostly dealing l with the details.
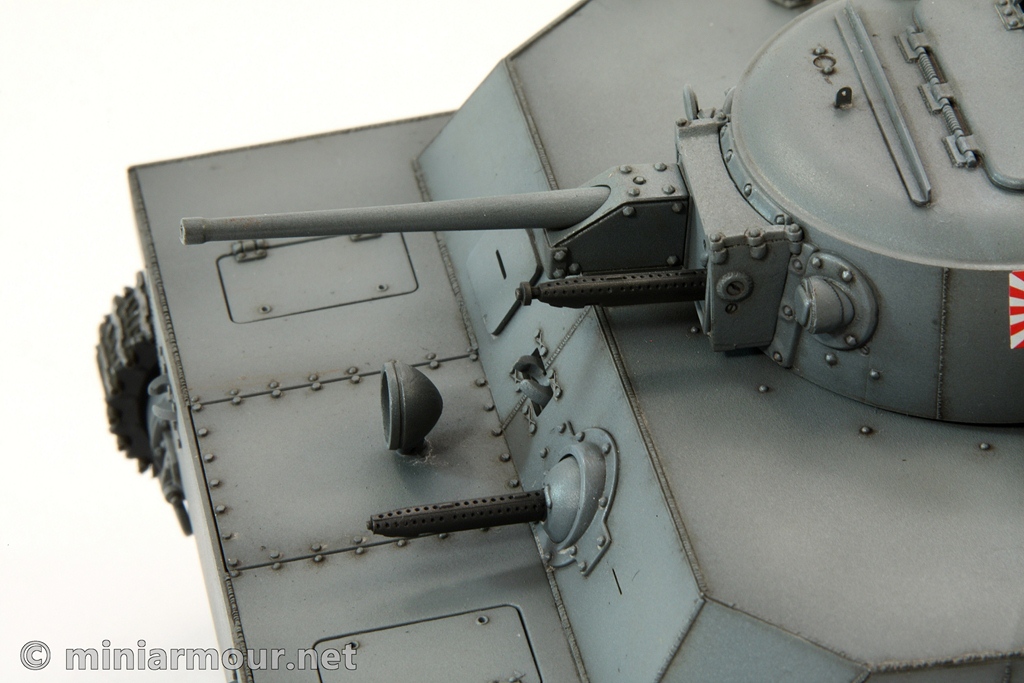
First I painted the barrels of the two machine guns. For this I used Vallejo paints, which I regularly use to hand paint the details. I used mix of Black and Black Grey – Black is too dark by itself and Black Grey too light, mix of the two seems about right to me. I always add touch of paint retarder, so that I can fix any unwanted overpainting of adjacent areas.
After painting the barrels, I have applied graphite. I do this using following method: I rub a regular pencil on a piece of sandpaper to get the graphite powder. Then I use makeup tool, called angle smudge (it is a kind of sponge brush that is used in makeup application and can be bought in Shoppers Drug mart. The particular one that I use is by Posh brand and I got two of them in a set – the other is called Round Smudge) to apply this to the surface, in this case the metal part of the machine gun. The advantage of this tool is that unlike most of the modelling sponge brushes I have seen, such as the ones by Tamiya, this particular one has sharp edge and can thus be used to reach edge of the surface without touching adjacent areas.
As with many other techniques, I tried to keep this effect soft, otherwise it will look too much like pencil… At the end I sometimes drybrush the edges of the metal surface with the Citadel Boltgun metal, if desired effect is the one of the polished metal, but I skipped this in this case.
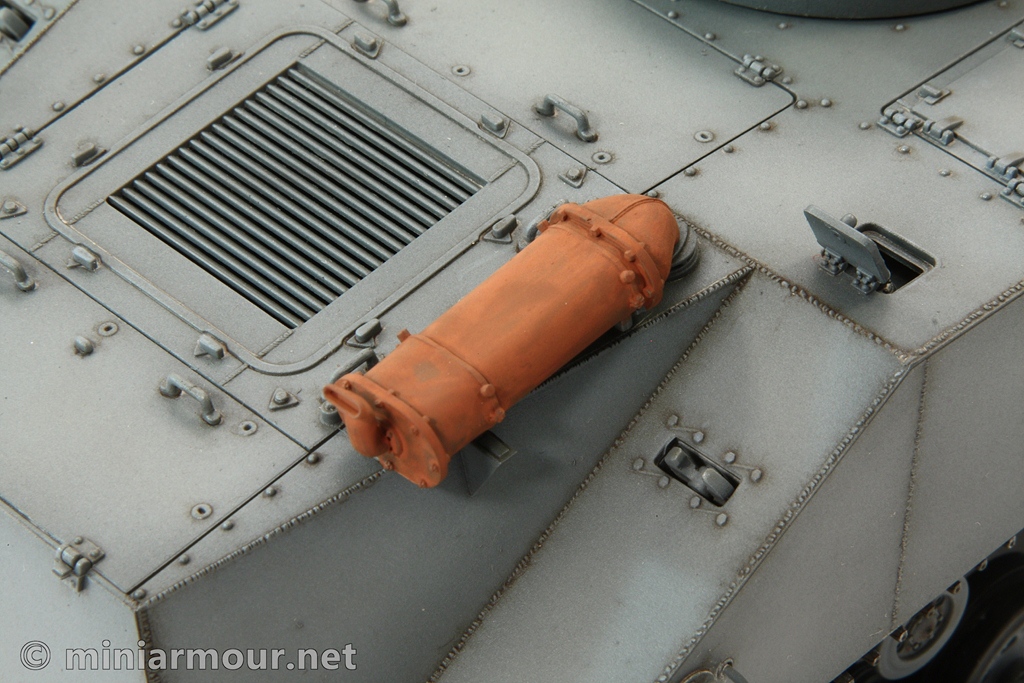
I then painted the exhaust at the rear deck. Again I mixed Vallejo paints – in this case I was looking for the base layer rust color, kind of red-brown shade. I achieved this by mixing Red leather and German camouflage Black Brown (this is very versatile color and I use it very often in my color mixes), and hand painted the exhaust. For most part I did not particularly care for nice uniform finish as following steps will cover any imperfections.
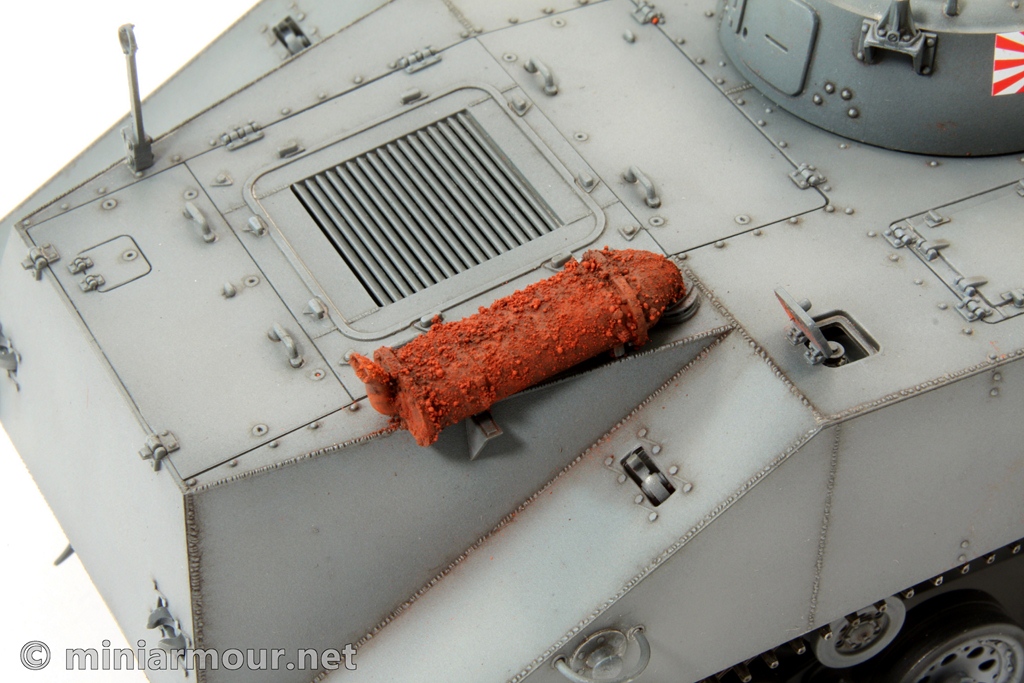
Once dry, I applied heavy oil filter, again using red-brown rust color, this time mix of Winsor Newton Burnt Umber and Winsor Red Deep. While the filter was still wet (oil paints and thinners give you rather long working time) I have applied pigments. I used Mig Rust pigments – I combine 3 varieties – Old Rust, Standard Rust, Light Rust. Usually I keep the use of Light Rust very limited, it is rather bright once dry. I apply the pigments one by one by dabbing them onto the surface by a round brush. I dip the brush to the pigment jar and then dab it onto the surface. The pigment will stick to the surface as this is still wet with oil filter. The brush has to barely touch the surface and you should definitely not slide the brush over the surface. Once I apply the pigments, I reapply oil thinner to the surface – I dip the brush in the thinner and then just touch the surface being careful not to disrupt the applied pigments pattern. I repeat the process to achieve the right effect and to apply multiple rust tone. As a rule, you should start the process with the darker rust tones and follow with the light ones. I let the thinner dry and correct the effect with dry brush if necessary. Once I am happy with the effect I apply pigment fixer in the same manner as thinner as described above.
If the resulting rusted surface is still too light, I apply another filter of brown oil paints. Use thin or thicker filter depending on how much darkening you want to achieve.
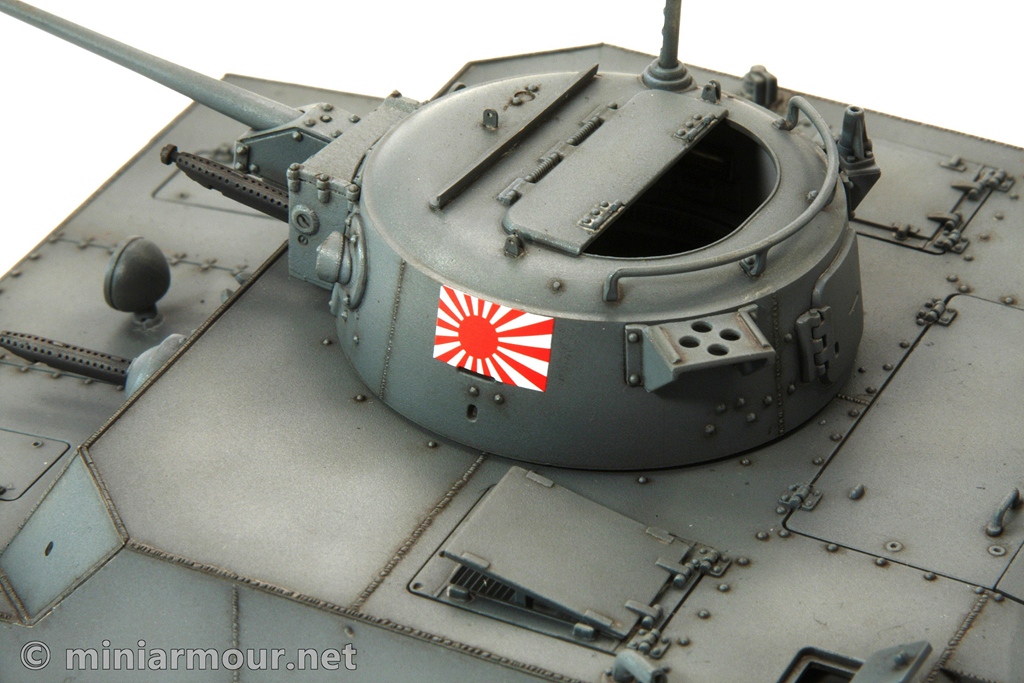
As a last step at this time I have applied the decals. This was quite straightforward as the decals are of good quality, I just cut them to the exact shape without any edge. I first apply gloss coat on the place where the decal is to be placed. I then use a combination of Micro Set and Micro Sol solutions to position the decal and to ensure perfect adherence to the surface underneath the decal. Once the decal is dry (usually I let it sit for 24 hours) I reapply the gloss coat to protect it. The last step was to airbrush extremely thin layer of base grey color over the decal, it is actually just a dirty thinner, rather than thinned paint. This is done to tone down the contrast between the underlying surface and the decal. Without this the tank would have a look of a factory-fresh vehicle, which is not what I want to achieve.
Categories: My models

3 replies »