
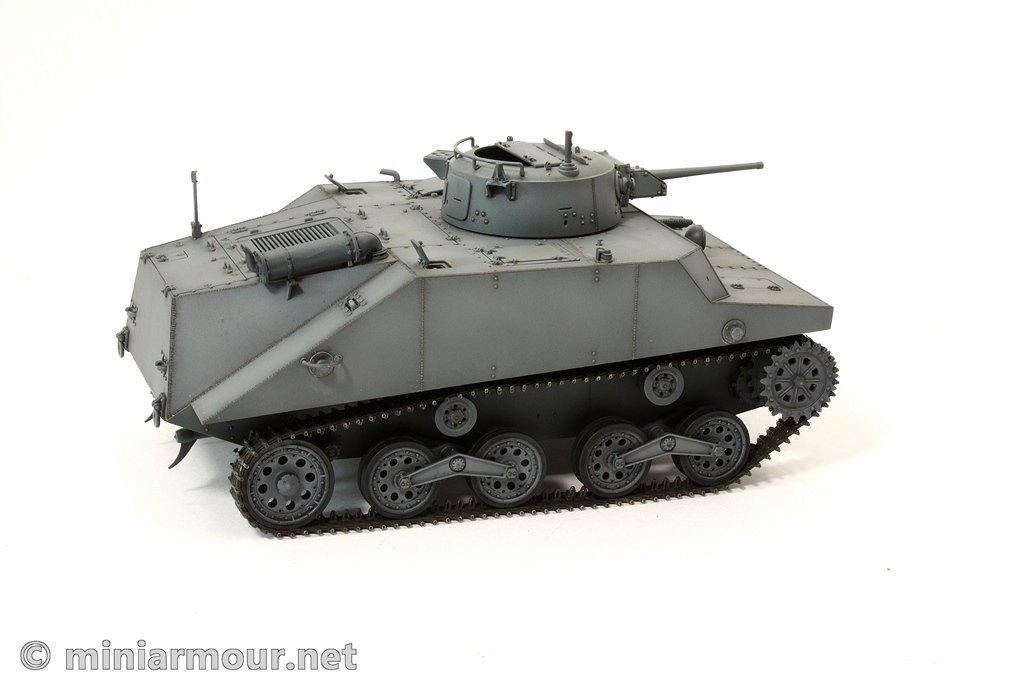
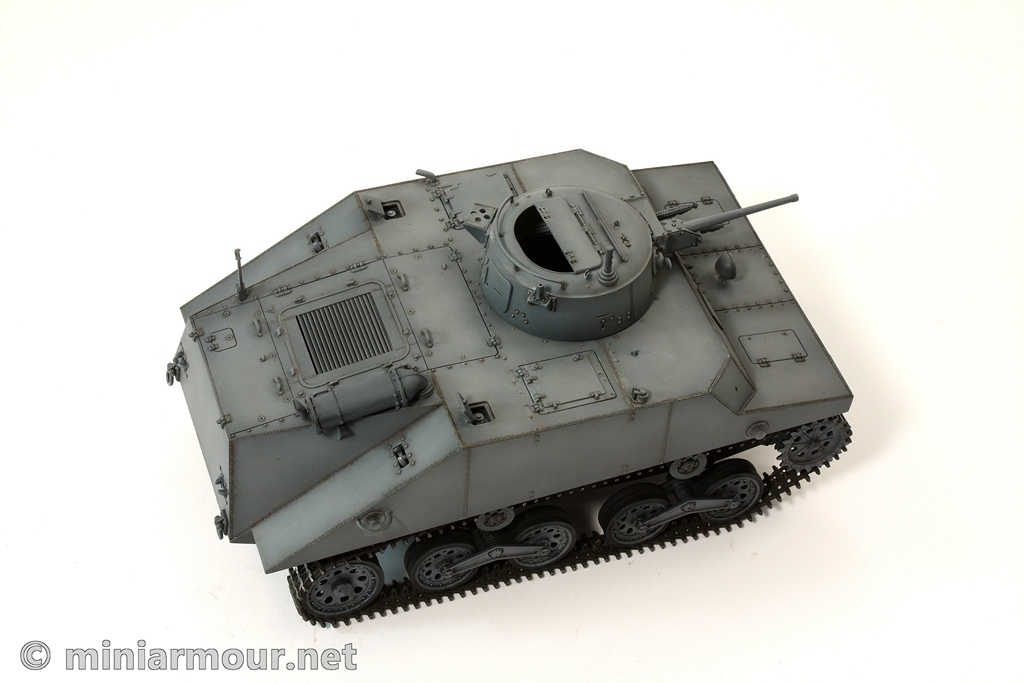
I have spent last few evenings adding few touches to the Ka-Mi.
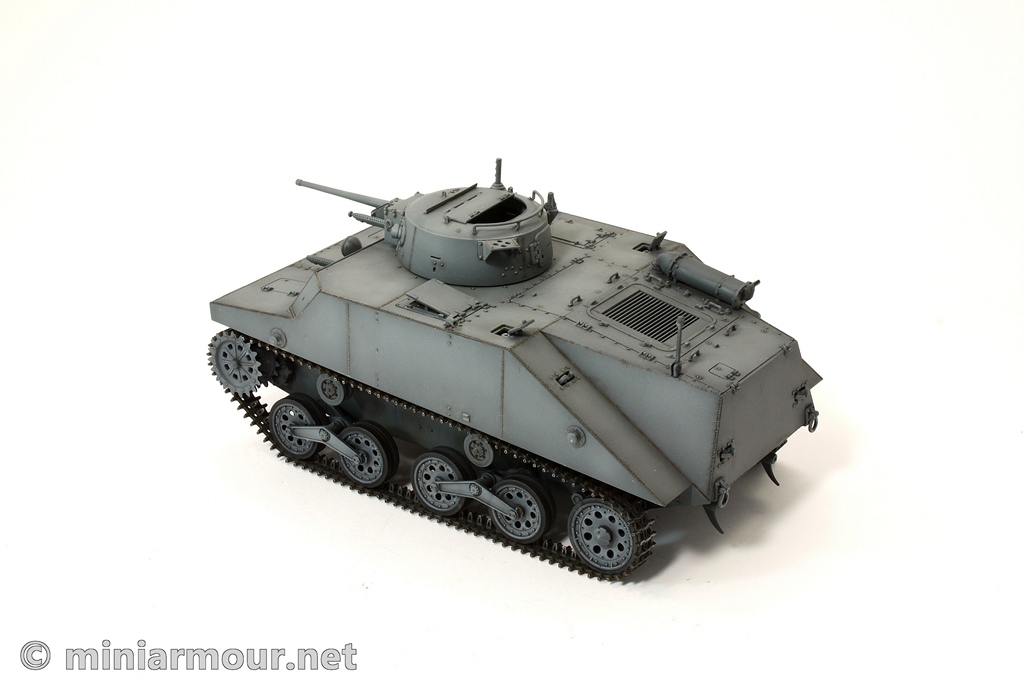
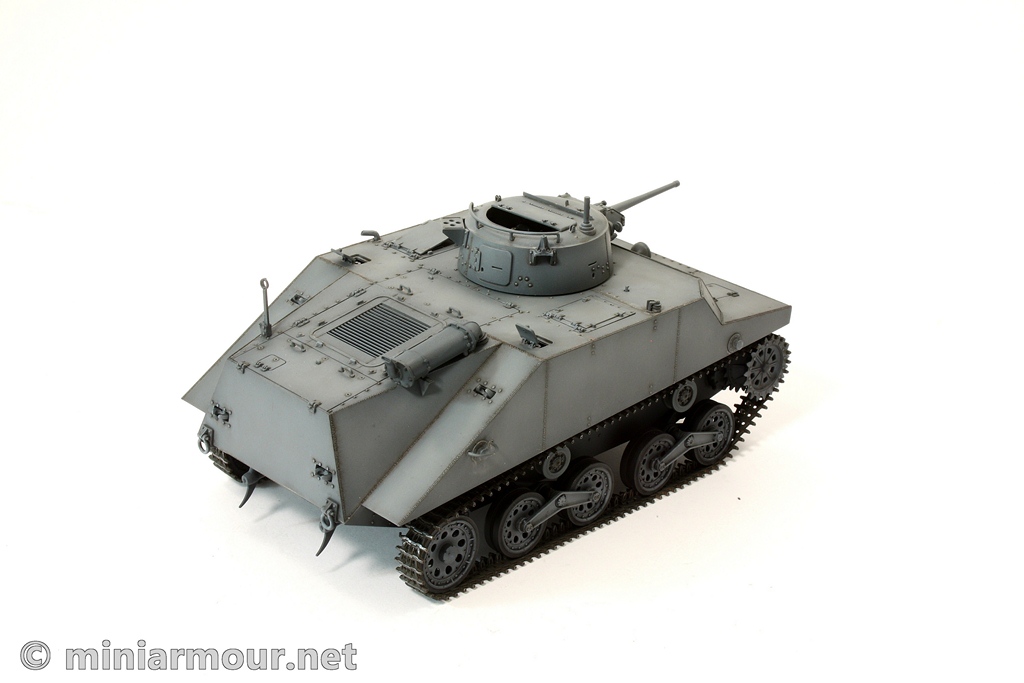
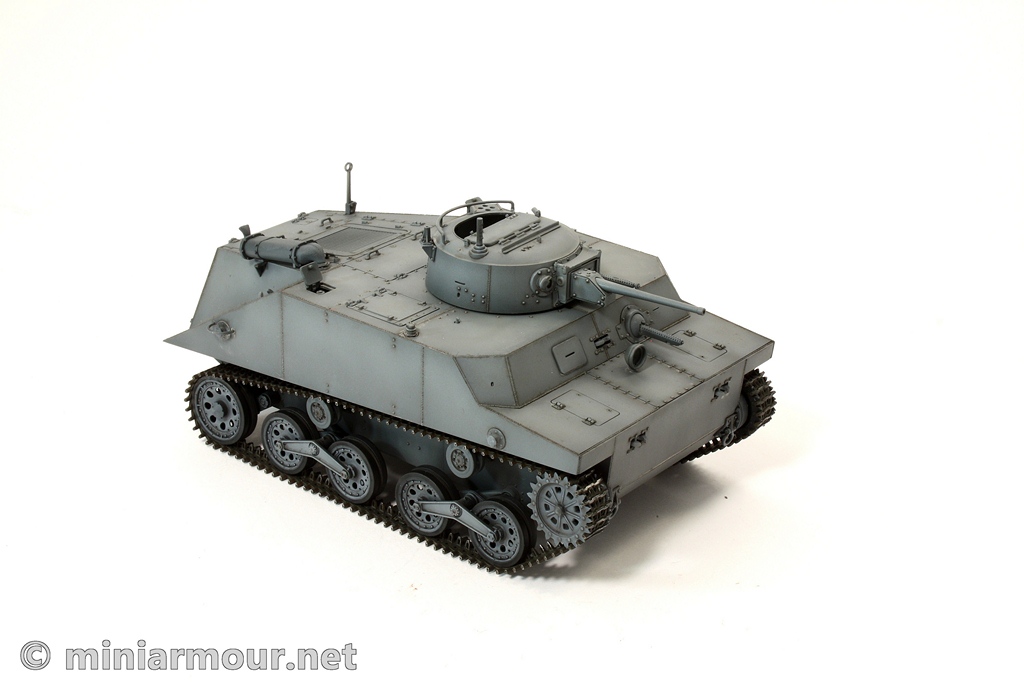
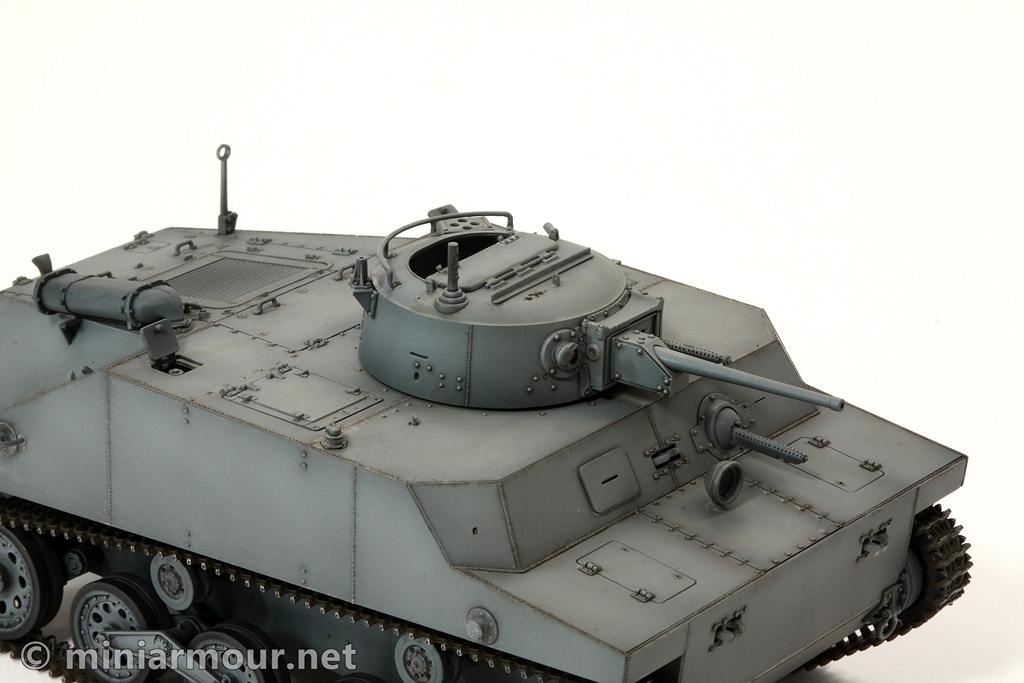
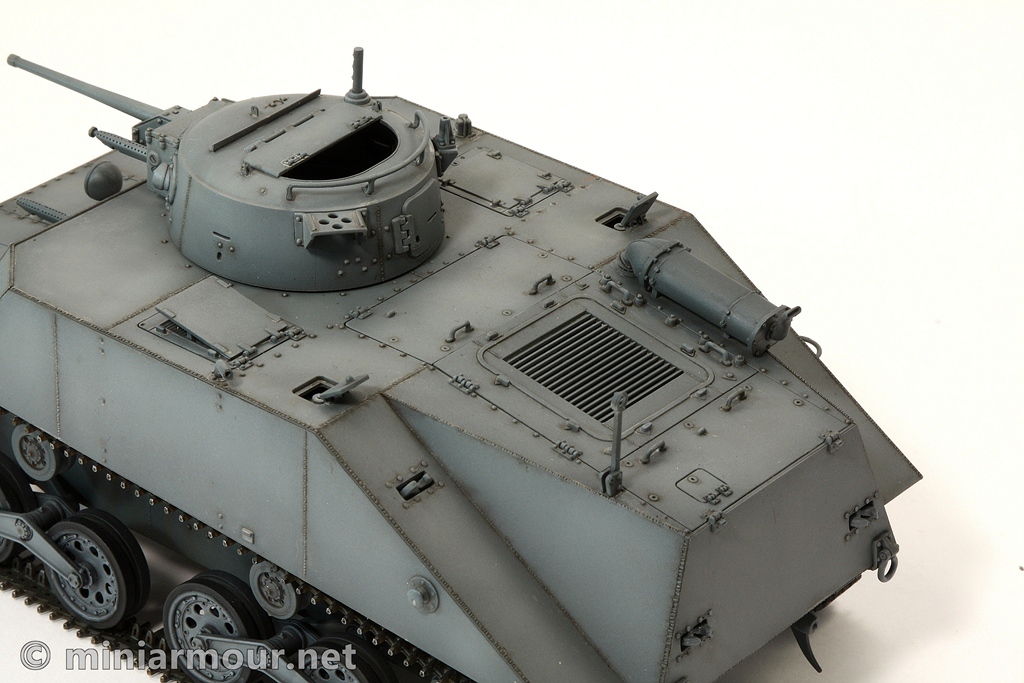
To tone down the contrast created by preshading and highlighting I applied oil filter. I used my trusty Winsor & Newton Burnt Umber and to keep the wash in balance with the underlying colour I mixed it with Payne’s Grey. I kept the filter rather thin, trying to avoid darkening the resulting paint finish too much. You can always darken it afterwards, lightening is much more complicated. I applied thin layer over all the surfaces.
After letting the filter cure for 24 hours I drybrushed the raised details to make them stand out from the background. Again used the Payne’s Grey, this time mixed with White. After few refinements of getting the mix the correct leve of contrast vs. the underlying color I drybrushed all the rivets, hinges, raised weld lines and similar surface details.
Drybrushing was followed by pin wash. For this a mix of Burnt Umber and Black artist oils was used. The mix was much thicker compared to the one used for filter, because I wanted to replicate the deep shadows and wanted to achieve darkening in one step. This wash was then applied around all the edges, rivets, etc. Because the finish of the model is flat at this time, I was careful to moisten the surface of the model with the thinner before applying the wash in order to avoid the marks left by the dried oil thinner.
Afterwards I felt that the finish of the model was little too much toward blue tint, so wanted to apply another grey filter. Unfortunately I picked Davy’s Grey for this. Davy’s Grey is paint that dries to light dust color, which is not what I wanted, so I have spent last 3 days trying to eliminate its effect and cover it with another layer of pin wash.
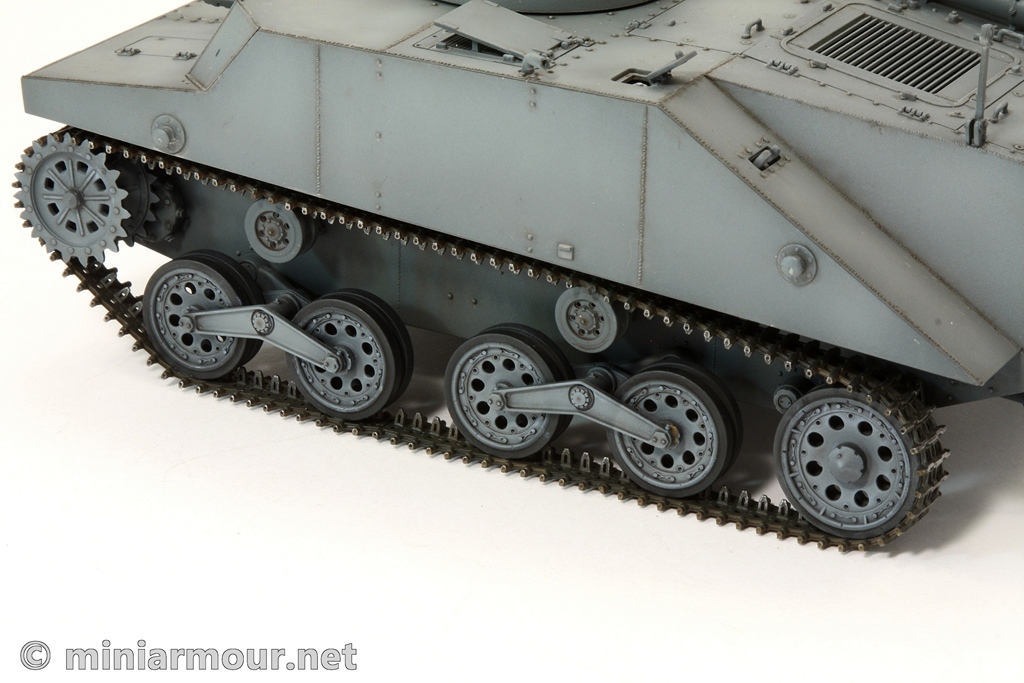
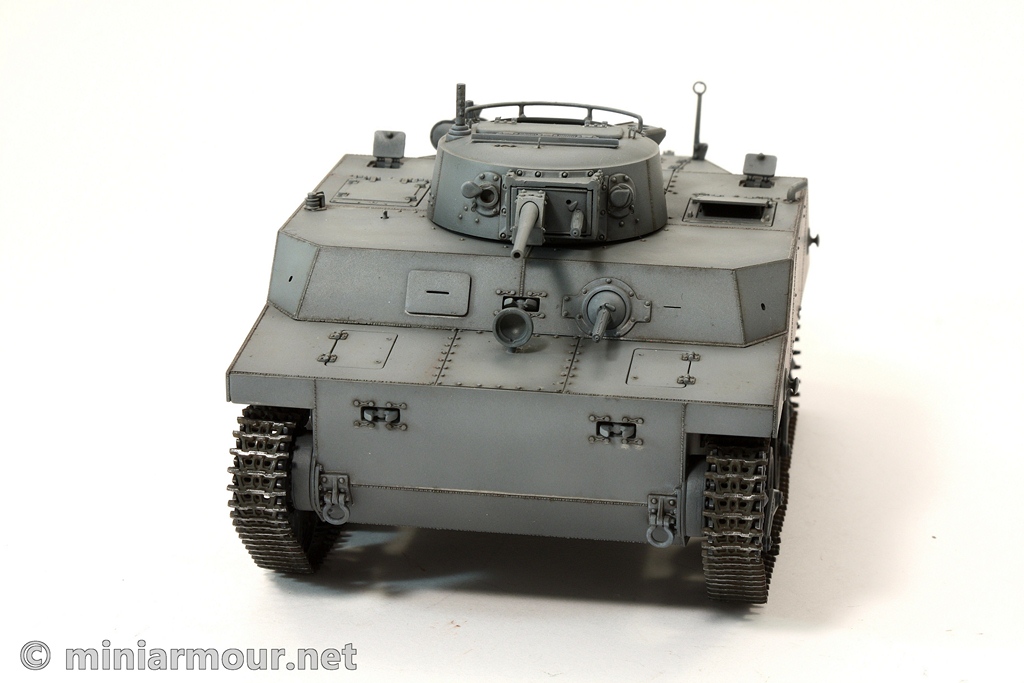
One thing that I have added in terms of construction were the tracks. I must admit that tracks are by far the weakest point of this kit. Aside from the fact that the level of details feels little behind the rest of the kit, there were few other glitches – casting flash, some tracks badly molded. But by far the biggest problem with these tracks are that they are too short – in my estimate by about 5-10mm. You really have to stretch them to make the ends meet. I used the superglue and attached them to the individual wheels to reduce the stress on the joint of the two ends. I recommend that when adding the tracks, position them so that the joint is below the wheel, so that any gaps are not visible.
I think that Dragon should address the issue with the tracks as it seriously takes one star off this kit should I assess its quality overall. Dragon can and should do better than this. You can try and wait for the aftermarket tracks, but given how small the tracks are, be prepared for really fine work putting them together.
I painted the tracks in dark earth tone and drybrushed them with Citadel’s Boltgun metal acrylic.
At this moment I am thinking about further weathering. I would like to keep this limited and more on the subtle side.
Categories: My models

2 replies »