
JSU Reborn
On Saturday I paid visit to Dave’s Hornet Hobbies as he was celebrating 10 years of the store by having a BBQ for his clients. Offering some great deals on model kits of all kinds, guess what I have found – old Dragon JSU-152/122S. Now, here I must mention, that when I started to build this kit, out of all the different JSU versions, I liked the 122S most. Its long barrel added little bit of different balance to the model in my view. Unfortunately the only way how to build this version is to use the gun mantlet from the Dragon’s JSU kit (if not the whole kit, but for that it might be too old). That one is however not that easy to find – or so I thought. I found some on the eBay, but the price seemed little too high for what I needed.
And now I am in Dave’s store and looking at the stash of armour kits of all ages and on top of it sits – Dragon JSU-152/122S. This was of course only after I have glued the 152 version mantlet to the vehicles superstructure…
There was the dilemma should I try to do what I originally wanted or just leave the things as they were. I decided to take the risk and removed original Tamiya’s gun mantlet, it wasn’t as difficult as I had expected. I just applied some of the Tamiya’s super thin cement along the joints and gently separated it from the hull using exacto knife.
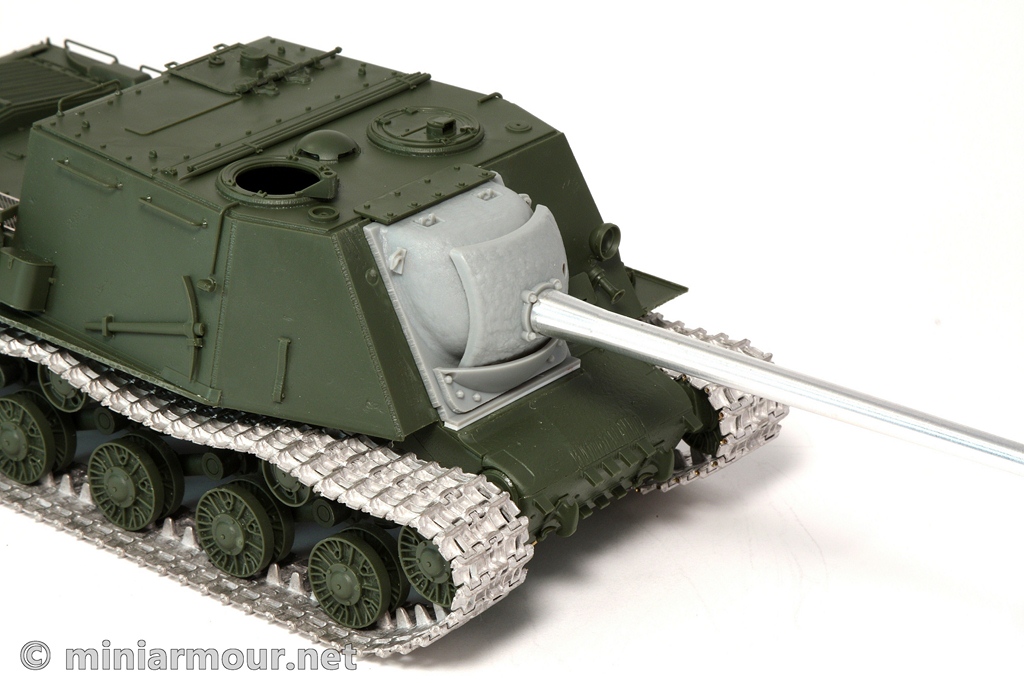
The new gun mantlet fit rather well, except for the lower lip – the one on the original mantlet was little wider than the one on the JSU-122S, so it looks little different upon close inspection. I already have some plan how to deal with it. Also because the front wall od the superstructure was on the dragon’s kit about 2mm shorter than on the Tamiya’s one, I had to glue strip of styrene to the bottom of the mantlet to make it sit higher. Overall I am quite happy with the fit.
I also decided to replace the Dragon’s barrel with metal one from Aber. This required some work with the mantlet to make it fit the barrel. Few minutes with dremel tool were enough and the barrel fits nice. I had to attach the gun shield to the mantlet with 5 minutes epoxy as the original parts for mounting the barrel could not be used of course.
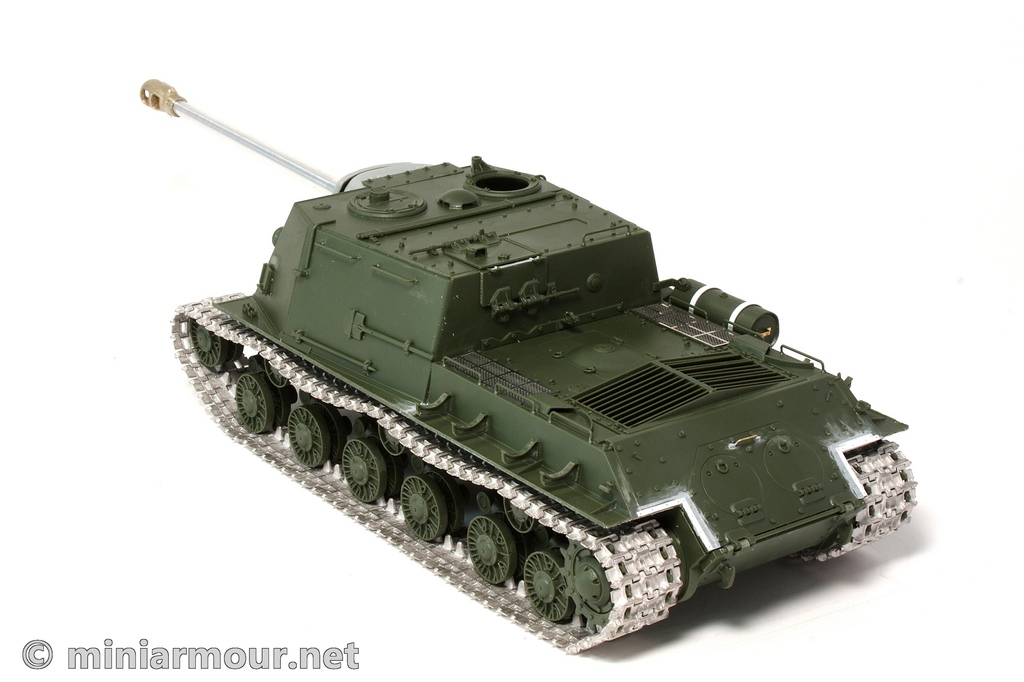
Few small other additions – I added one of the fuel tanks and replicated the mounting straps by adding styrene strips (0.25mm thickness) on top of the moulded ones and adding some details using 0.5mm styrene rod. Not perfect, but better than nothing (as supplied by Tamiya :-/)
I added some damage to the side of the fenders using a trick I have also learned from Dave long time ago – using dremel tool again, with round head, just add small dents and scratches along the vertical part of the fender rim. Simple, easy, quick and it adds quite a bit to the “worn-out” look of the vehicle.


Categories: My models

Just a quick question, when I sand down parts of the model and clean it why is it that mine leave a light scratch, but when you look at yours there is know evidence of this ? Loving the build
I do have scratches too, they just might not be so visible on the photos, but I try to minimize them. I use really fine sand paper to clear any scratched surfaces – starting with grade 400 and doing the final polishing with grade like 1200 and more.
Sometimes when there are heavier scratches I apply Mr. Surfacer or Tamiya putty thinned with Tamiya super thin cement first and sand it afterwards. Sometimes I also just brush the scratched surfaces with the brush moistened with the tamiya super thin cement. this usually smoothes the surface.
Hope it helps…