Hey, I know, I know, I already have one unfinished Merkava on the bench, but let’s just say that is going to be longer story…
To start this one I was actually inspired during my Abrams build. When working on this kit, I have spend quite some time weathering the upper hull, just to see it being hidden by the huge turret. So I thought it would be nice to have a model, where this could actually show. Being big fan of Israeli armour I thought this model might be just right to do that.
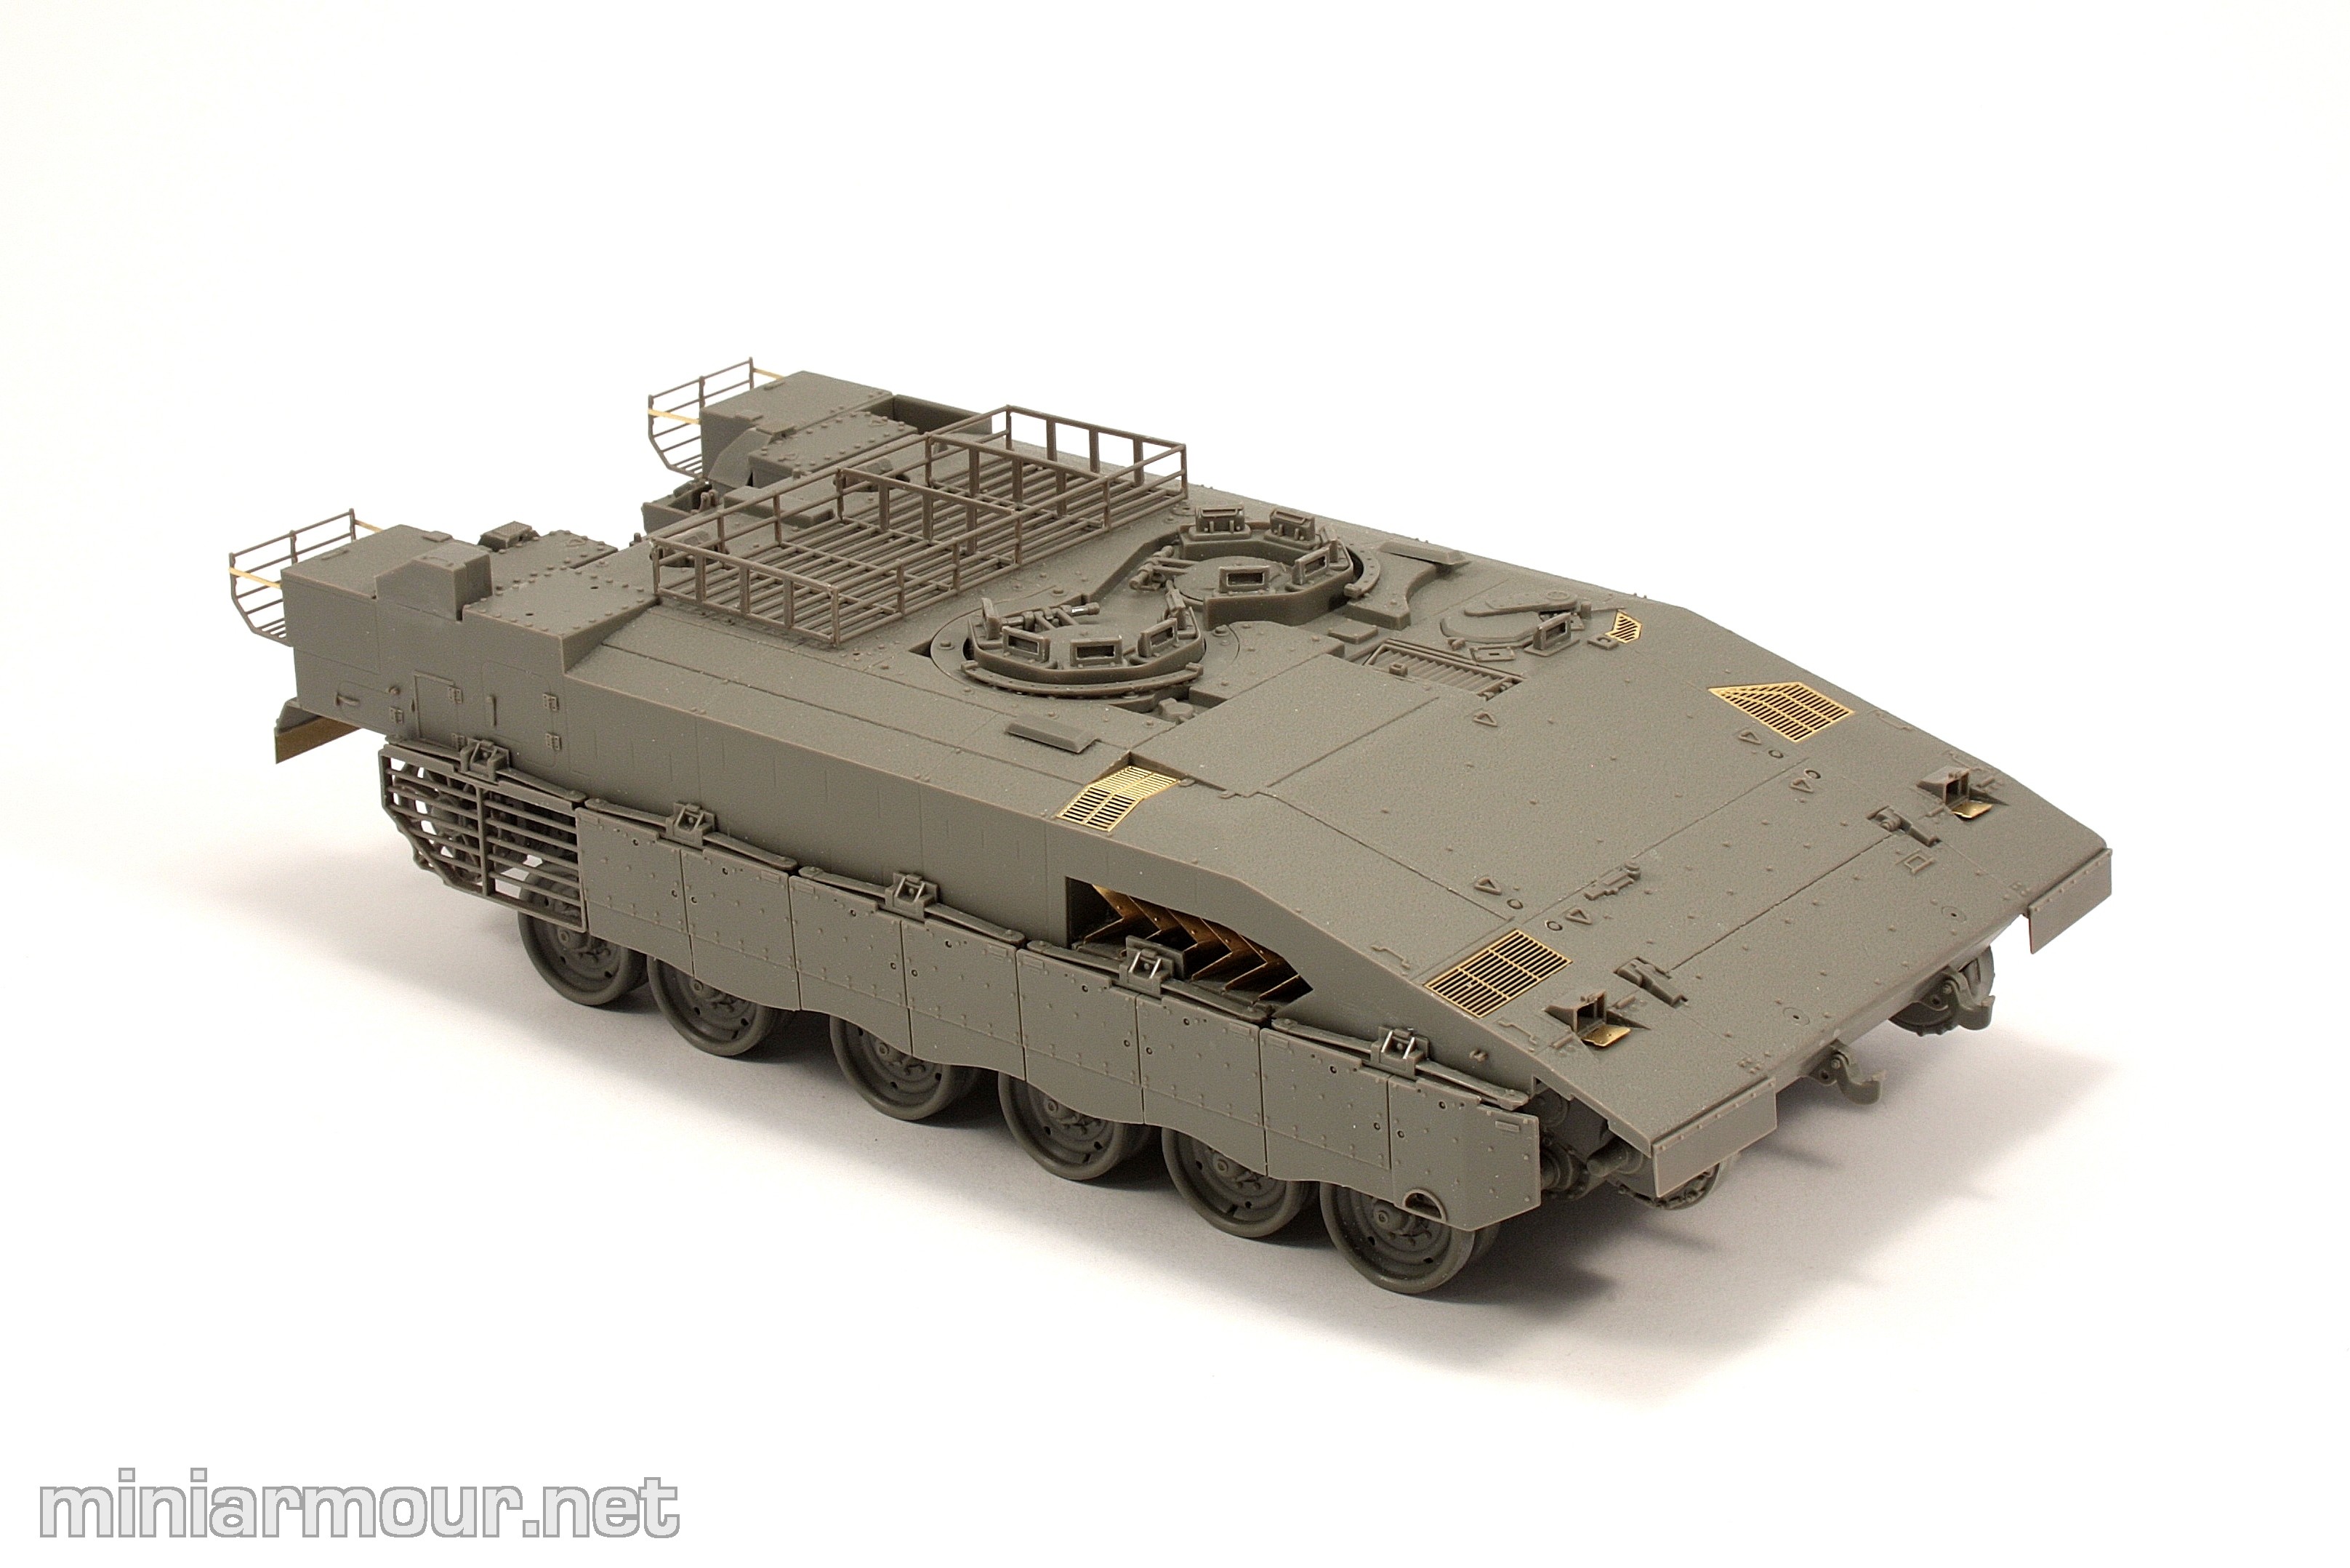
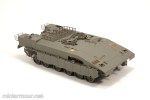
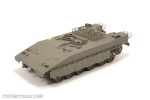
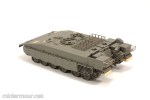
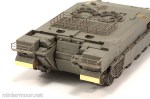
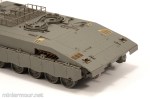
What to say about this kit. It’s Hobby Boss and it uses similar parts and construction principles as their Merkava IV kit. Unlike Merkava IV the parts are cast in darker grey colour (perhaps close to actual colour of the vehicle?). Construction of the model was so far rather straightfoward. Upper hull has nice anti slip texture and details around the crew hatches. Missing turret gives this vehicle interesting shape and I am looking forward to paint and weather this piece.
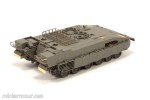
Most of the details are nevertheless at the rear of the vehicle around the exit hatch and stowage area. The tricky part of the construction is the exhaust with its unique louvres, typical for Merkava. HB tried to change the configuration a bit compared to Merkava IV trying to make the construction easier. Well, it works a bit, but it’s still one of the most challenging parts of any model I have built so far. Essentially you have to bend the set of photoetch parts, position them correctly in 3 dimensions, align them, so that they appear parallel from outside and at the end make everything fit like a sandwich between the upper and lower hull… Not easy, but doable. If you are a beginner and you are looking at this kit, then put it aside and try something else…for now…
Side skirts are nicely done and add to the unique look of the tank. I have only attached them temporarily with super glue and will remove them and the wheels for painting (unfortunately I don’t think you could take the wheels off and put them back on with the skirts attached, which would make the painting much easier).
The kit was criticized since there is only prototype of this vehicle, i.e. it is not a production version. Crane assembly is apparently simplified, which I can confirm just by looking at the parts, but I haven’t got to that part of the assembly yet.
In any case it is so far looking good, hopefully not a lot of work to finish construction and put the airbrush to work.
Categories: My models
