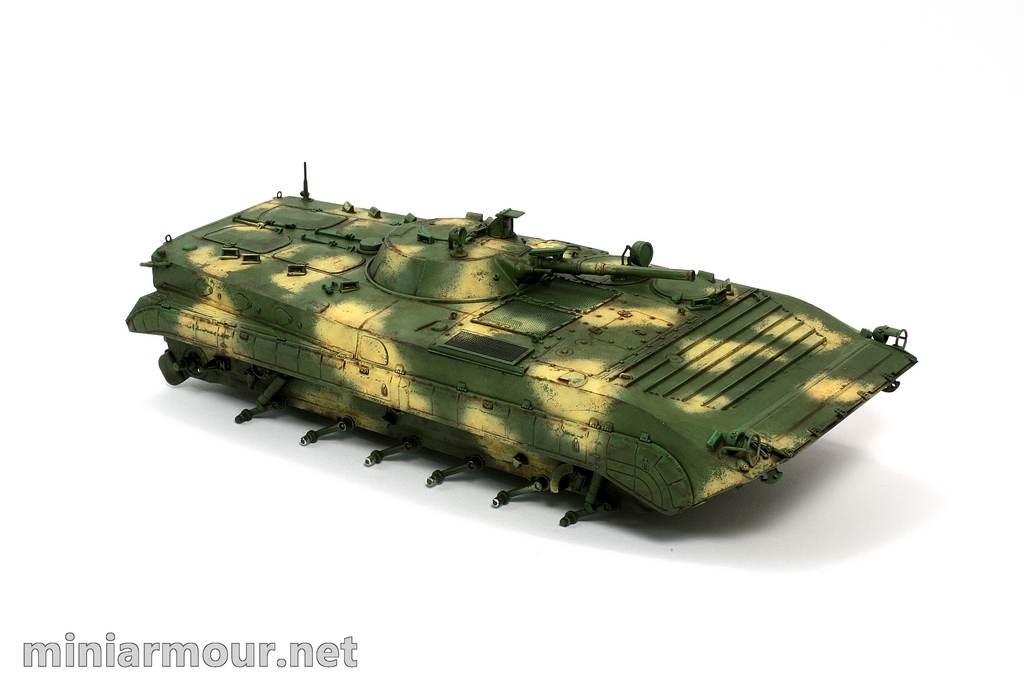
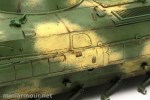
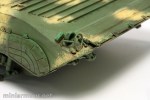
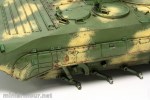
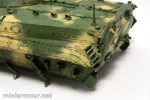
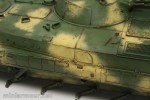
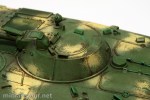
 Having everything prepared I moved to the fun part – chipping. Unlike previous attempts when I was still to some degree struggling with this technique, this time it went flawlessly and I felt being in control of the overall result. I tried to proceed slowly focusing on the logical placement of the chips, especially on the sides of the vehicle, where the placement of the chips has to reflect the shape of the surface. Using small brush (no. 2) I proceeded from one yellow blotch to another.
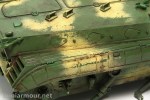
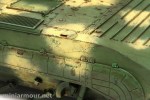
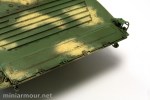
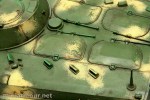
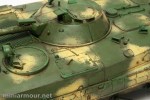
Once I was happy with the chipping, I proceeded with the filter for which I have used modern US vehicles wash from AK interactive. Pane lines and other surfaces details were treated with localized pin wash using oils (mix of Burnt Umber and Black). Raised details and edges were highlighted with localized drybrushing of oils again, using light green shade for areas with green base and Naples yellow for yellow areas.
With this step complete, markings will need to be placed on the vehicle before I can continue with further weathering.


Categories: My models

2 replies »