Over the past weeks I was asked by few people about camera set-up that I am using to take photos of my models and instead of responding individually I tough it may be helpful to write a post on this topic.
I will try to describe the tools and processes that I am using when photographing my models. I am not claiming to have the best set-up, but it works reasonably well for me. I am modeller first and photographer second (or third, or….), so I try to keep things relatively simple. I dare to say that the equipment I use was obtained relatively on budget, though there are some expenses that you may not be able to avoid (camera).
I must also admit that I used to be more active as amateur photographer in the past, although I was more into the landscape and urban photography. Nevertheless the experience with theory and practice of photography definitely helps me in taking pictures of my models. That said, taking pictures of models in an indoor setting presents different and new challenges that I am still learning to deal with.
This post is not intended to be step-by-step primer on how to use the camera and how to take great pictures, that would be rather lengthy discourse and I would rather strongly recommend you to reach for one of a great number of books dealing with this topic.
In the post I will try to cover everything that comes to my mind, but in case I miss anything or you would have any questions, feel free to ask questions.
Equipment
I tend to use minimum equipment and I do not necessarily get it in specialized photo stores, but rather wherever it comes convenient and practical. There are some pieces of photo equipment for which you may need to visit specialized photo shop or look for it online, but this is only few items.
Here is a list of what I use with some comments:
Camera
I use Canon Rebel XSi SLR (single lens reflector). If you are interested in making better pictures of your models, I would strongly recommend getting a SLR camera. It is perhaps the most expensive piece of equipment that you should get, but the investment is well worth it. You can get decent results with point-and-shoot cameras as well, but SLR brings the quality to a different level.
It is not necessary to go for the expensive models, I believe low to mid range camera models will work sufficiently well. Quality is achieved more by knowing how to use the camera so willingness to learn it is as important as ability to buy it.
There are few important features of SLR that you will benefit from – ability to use manual setting for aperture and exposure time and thus control the exposure of the photographs. Ability to control depth of field and area of focus, Ability to change ISO setting if needed, ability to set manual white balance, just to name few.
Lenses
Quality of lenses is about as important as the quality of the camera, or perhaps even more important. Cheap lenses will give you cheap results, so if you can afford it, avoid them.
I am using Canon Zoom Lens EF 28-105mm 1:3.5-4.5 II USM, which I have bought long time ago, when I was still using analogue camera.
Camera remote control
This is really cheap tool and highly recommended. When shooting at slow speeds (essentially exposure time of anything less then 1/60th of second), remote control is invaluable as it prevents shaking of camera, which occurs when you press the shutter button.
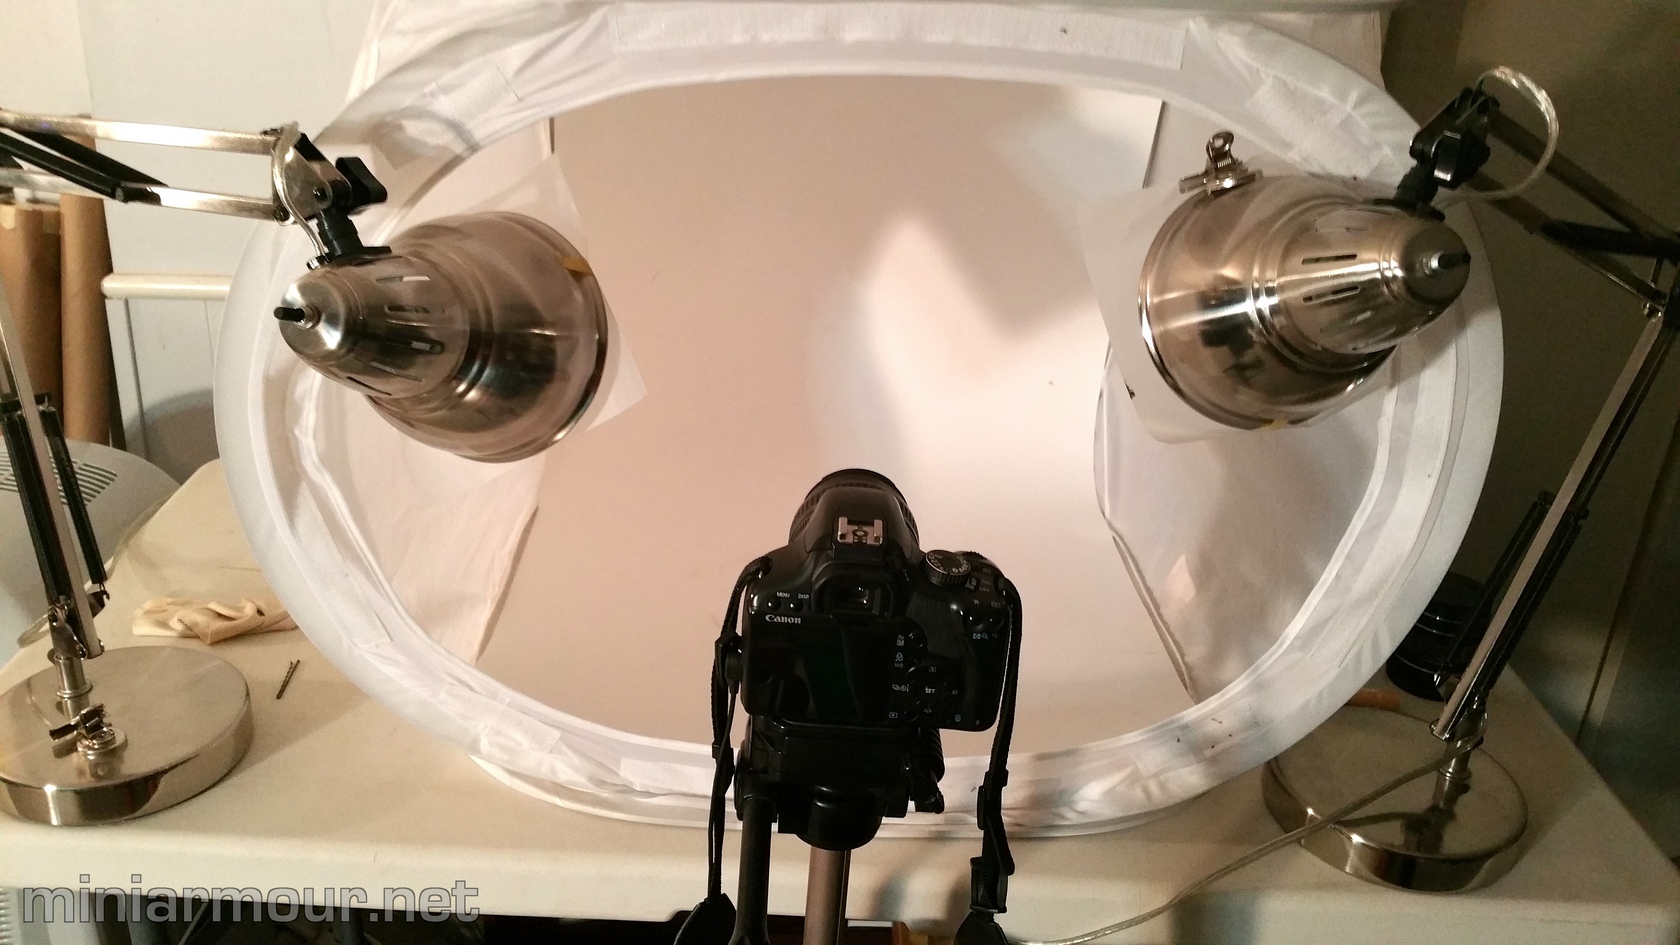
Tripod
This is another one, which is a must. Get one that is sufficiently tall, so that you can take pictures with mounted camera even when standing tall. Tripod does not need to be compact, I rarely use it outside of my modelling man-cave, so get one that is larger and sturdier. Height and stability are the important parameters. Again, you do not need to go straight for Manfrotto, I am using Velbon CX 560, but I would simply recommend – go with any mainstream bigger tripod you can find in your local photo store. Just try it and test whether it is stable and sturdy enough.
Photo tent
I got mine on ebay, where there is tone of them available either standalone or in packages. I got mine in package with second smaller tent, which I have never used and with set of two lamps, which broke down pretty quickly. So to save money, just get single tent without any bells and whistles… Go for the bigger size, so that you can take photos of larger models and it just makes the work easier. Mine is about 22 inches wide (55cm) and it just fits on a folding plastic table I got in Home Depot store.
Lighting
This is where I go for the budget items – I use three office lamps from Ikea. When I mentioned this to my friend who is professional photographer, he scolded me, why have I bought it there, it’s too expensive….. I chose the cheaper ones, but they have to have moveable arms, so that you can position the light in the desired direction.
I am using regular 100W bulbs in all three of the lamps to get maximum light. I prefer “colder” ones – lower light temperature. Because they heat a lot and because the lamps are not usually designed for 100W bulbs (lamp producers usually recommend 60W bulbs to be used) I don’t let them switched on for long periods of time. All three bulbs should be of the same type, otherwise the different light temperatures and other parameters of bulbs may make the white balancing difficult for camera. To diffuse the light I use tracing paper, which I cut to small square and attach in front of the light using Tamiya masking tape.
White background
For this I use just regular sheet of white paper that can be purchased in craft or art stores. I just cut it to fit inside the photo tent. They have limited longevity, after few weeks the usually get marks and scratches by models, primarily by pigments used for weathering.
Grey/White Balance Card
This is again rather simple tool, though you may need to go to specialized photo store or get it online. The card is used to set correct white balance on your camera, this may only be available on the SLR, not sure if point-and-shoot cameras have this setting. It’s easy to use, instructions either come with the card, or you can find them online.
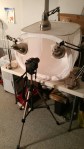
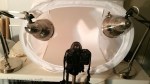
So that’s essentially it. This is the set-up I use for almost all my photo work. I hope it makes sense. If not, feel free to send me an email, I will try to respond. Below are few shots of my set-up looks like. Simple, eh…?


Categories: Techniques
