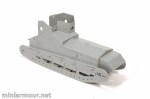
Here is my quick build of the past week. As much as I say that I am usually not much excited by WWI subjects, this one got me again.
The inspiration to build this kit came as usually from internet – I really love the build of this kit featured on the modellingnews site – you can see it here.
So when I saw the kit on the shelf during my recent visit at hobby store, I picked it up and having only 20 other in-progress models, went straight at it.
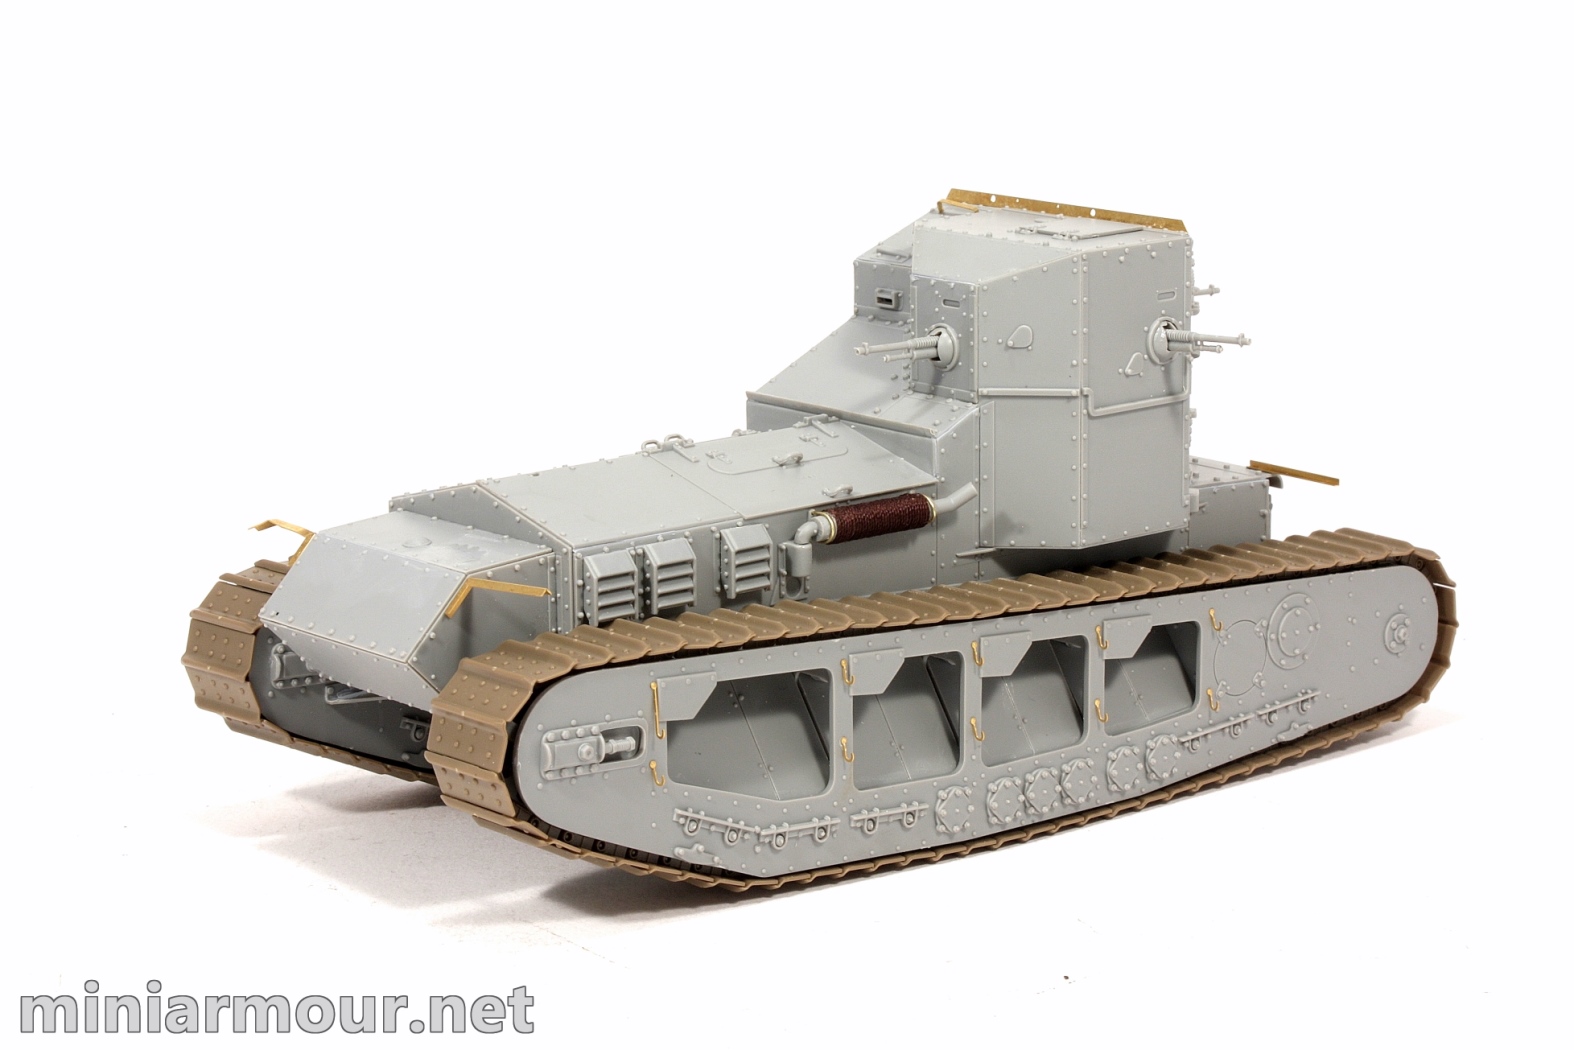
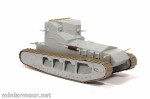
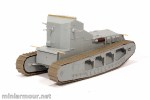
The quality of the kit is really great, and I must agree with most of what is said about the kit on the modellingnews review. Fit of the parts is great, bit more difficult around the roof part, but nothing that cannot be filled with minimum effort. Model is relatively uncomplicated, but still features a lot of details. There are few places, where it could be improved with some aftermarket help (there are some brackets on the turret that are molded solid, but could be done finer…) but in the context of overall quality it’s ok.
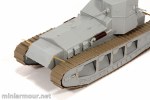
I have added only small enhancements, again modellingnews article was of great help, mostly with respect to the muffler. One place, I might still go for some extra work are the stowage bins at the rear, which could use bit more finesse. You could omit these completely as on many period photographs of the tank these are already missing. I may rebuild them using styrene sheets and pieces of balsa wood, but I have not decided yet.
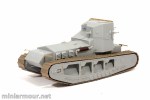
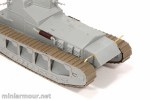
I love the tracks that Takom has included, they just click together with minimum effort and you can have both tracks finished in something like 15-20 minutes. I cleaned the molding marks on the face of the tracks just to make sure they will not spoil the effect, but that it as much effort as is required. On the one link, where the tracks connect to the loop, I have shortened the locating pins, so that I can remove the tracks, paint them separately and them put them back on. Even with that shortening, the tracks hold together firmly and are actually workable.
When building the kit I again decided to follow my own order of steps and I have first built the body and only then added all the details on the sides. I found this was still easy and did not create any problem.
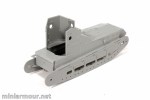
One place where you may want to play a bit with the fit are the small axles in the middle of the run on each side – the ones that do not protrude to the outside. I found that they do not fit perfectly in the locating holes on the walls, and had to narrow them a bit, otherwise, they will push the walls outwards in the middle by about a millimeter or so.
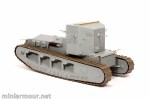
As far as markings are concerned, I have more or less decided to go with the version of the vehicle from the Russian civil war. The reason is that the tanks used by the British in the Western front were painted in relatively drab brown colour, which I find rather uninspiring and which will be subject to the ever present criticism of the “experts” that the shade of the model is not correct, instructions are wrong, yada, yada, yada…. With the Russian vehicles, you have much more freedom in terms of the exact color and shade.
It would be nice if there would be some aftermarket markings available…
that’s it for now, I am quite looking forward to painting and weathering this piece. Well done Takom!


1 reply »