Happy New Year everyone. I know it’s bit too late, but since this is my first post this year, I hope you won’t mind.
I’ve been absent over the past few days, which in large part was due to my ongoing battle with cold and all its possible symptoms over the past days. All the sneezing and coughing and headaches left me with little appetite for modelling during the evenings, thus the break.
I was still able to make some progress over the Christmas, if you can call it progress anyway…
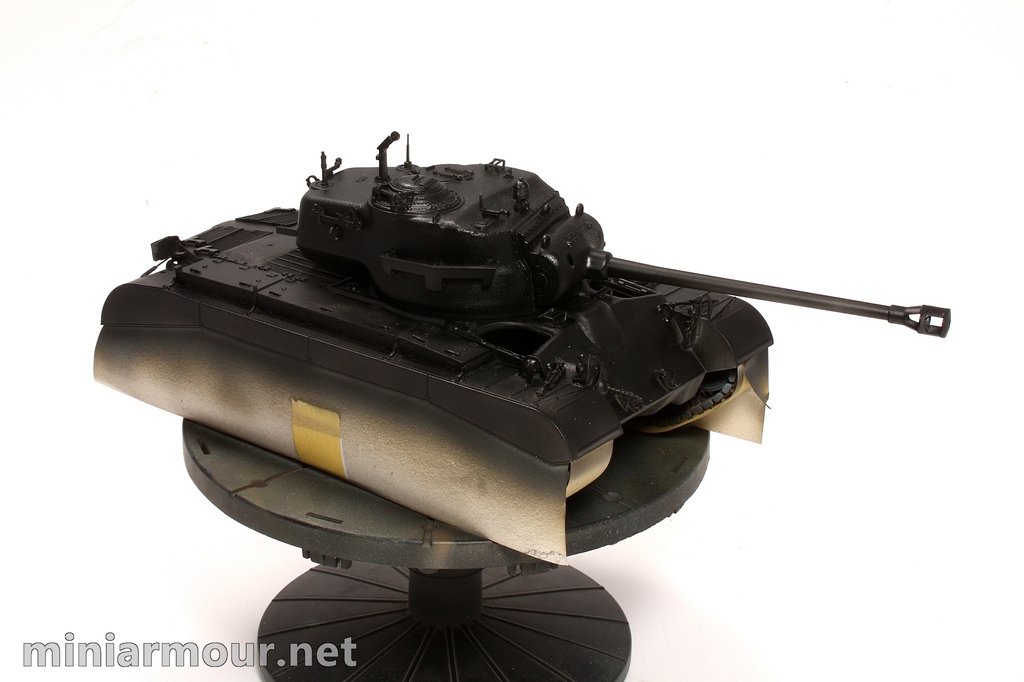
I have been playing with the Pershing and thought that I would add a bit of depth to the paint job. I decided to try the AK’s chipping fluid – I have found it too thick to airbrush it (not sure if there is some secret how that can be done), so I have applied it with a brush. Over this I have airbrushed mix of Yellow Green, Sky and Olive Drab. After trying it on one side of the vehicle I found out that it requires at least two layers of the chipping fluid to be applied in order to achieve the effect. At the end I went over the whole hull and used the usual scrubbing routine using stiffer brush to remove the oversprayed paint mix.
I left the model sit on the workbench for few days, just to find out that I am not happy with it the effect at all. Somehow it looked weird and unnatural, different from the results I am used to when using my trusted hairspray. As I have already mentioned before, I was not that satisfied with the paint job before and this was the last straw, that made me decide to go back to the beginning and start the paint job again. Luckily (luckily?) the kit does not have any details so fine, that they would become lost after multiple layers of paint, so this should not affect the end result.
I used the Vallejo primer again and this time I was quite happy with the effect. I used bit higher airbrush pressure, then I use for the regular paint jobs and the primer went on well and at places I have sanded it slightly to fix some unwanted surface dusting.
Afterwards I have applied Tamiya X-18 Semi-Gloss Black as preshading, this time covering the whole surface. At this point I am in search for the recipe for the right shade of green and will be taking no chance, will test it first on styrene sheet to make sure it’s looking good.
Categories: My models

2 replies »