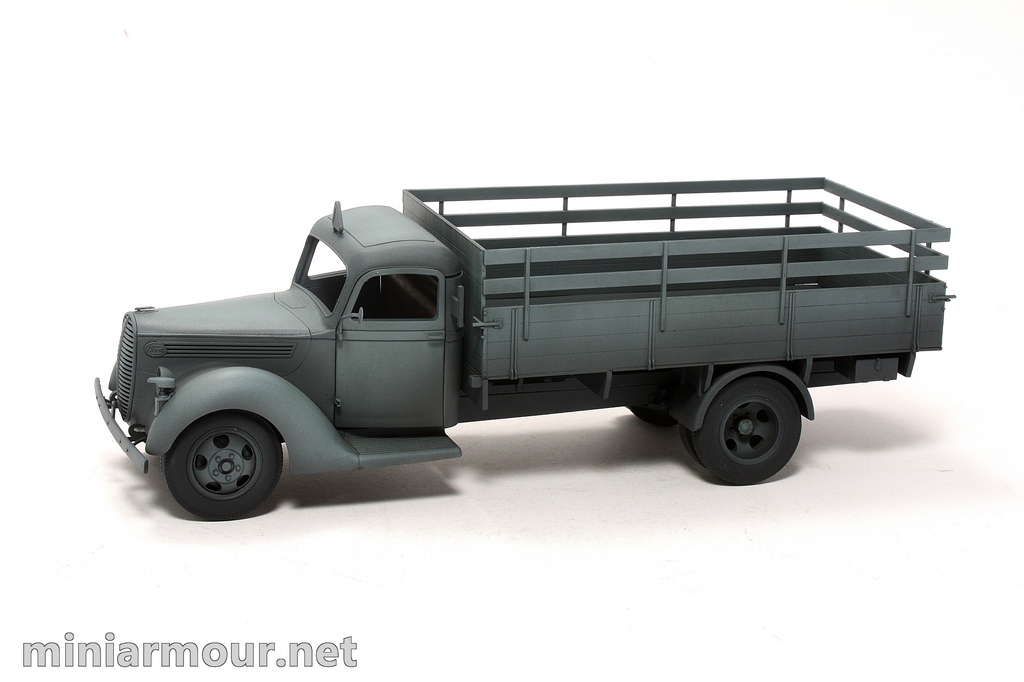
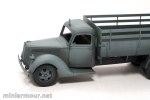
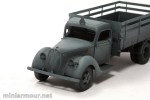
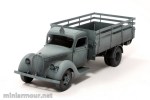
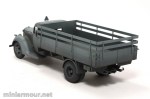
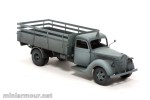
Having all the components ready, I proceeded to the next crucial step – base coat painting. Remembering to keep the finish lighter I have selected the paints to use – for the base coat on the upper parts I have used Tamiya German Grey. At first sight this seemed bit lighter than I have expected, but at the end it was about as dark as I wanted it to have.
This was followed by the next layer of Tamiya Light Grey. I have tried few colours from the Tamiya range on an evergreen sheet just to see their exact shade. Light Grey looked to me about the right brightness as well as temperature – bit more toward the blue, rather than having a tint of brown. I airbrushed the Light grey along the upper part of the vehicle, progressively building more and more opaque coat toward the top edges. At the very top, I have added a bit of white to the mix to make it even lighter.
As I have been painting the model disassembled in multiple components (you can see them laid out in the post on application of primer), this has added additional colour variation to the individual pieces and created contrast – such as between the doors and door frame.
I have kept the inside of the cargo bed bit darker, as this would not be as light as the outside of the vehicle due to accumulated dirt and dust.
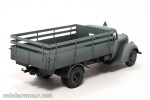
Bottom of the vehicle received the base coat of Tamiya Rubber Black. For wheels this acted also as a primary color. Using a geometric stencil I have airbrushed the metal rims of the wheels. I have not put any further paint coat on the bottom of the vehicle, this will be later on covered in earth tones and pigments.
Happy with the paint work, I have applied filter mixed from the AK’s wash for grey vehicles thinned with AK thinner. I have kept it rather light to avoid darkening the vehicle in one step. I removed most of the filter using vertical strikes of a brush to create first layer of streaking marks.
To finish the interior of the driver’s cab, I have put on thin layer of Tamiya Clear over the dashboard and applied the decals. This was followed by airbrushing of Vallejo’s flat coat. I like this Vallejo product, as it is easy to apply – I use it straight from the bottle and thin layer is sufficient to remove the gloss. Dashboard control dials were hand painted with the Tamiya Clear to add them the glossy look of the glass. Sad that most of this will not be visible as I plan to leave the cab doors closed and airbrush layer of dust over the windows.

Categories: My models

Fantastic spray job it really looks stunning, your a credit to the moderling world, I think the information you put into your blogs has really helped my model making.
Keep up the good work, have you ever thought of making a CD showing use your work? Just a thought.
Regards
Robbo
Hi Peter, thanks, I appreciate your words and am glad my blog was of help…
At this time I don’t plan anything in terms of putting my work on CD, pretty much everything I have is online…
Regarding the Ford piece – just wait, I think the best part is just coming… 🙂
Cheers & Happy modeling
Vlad