
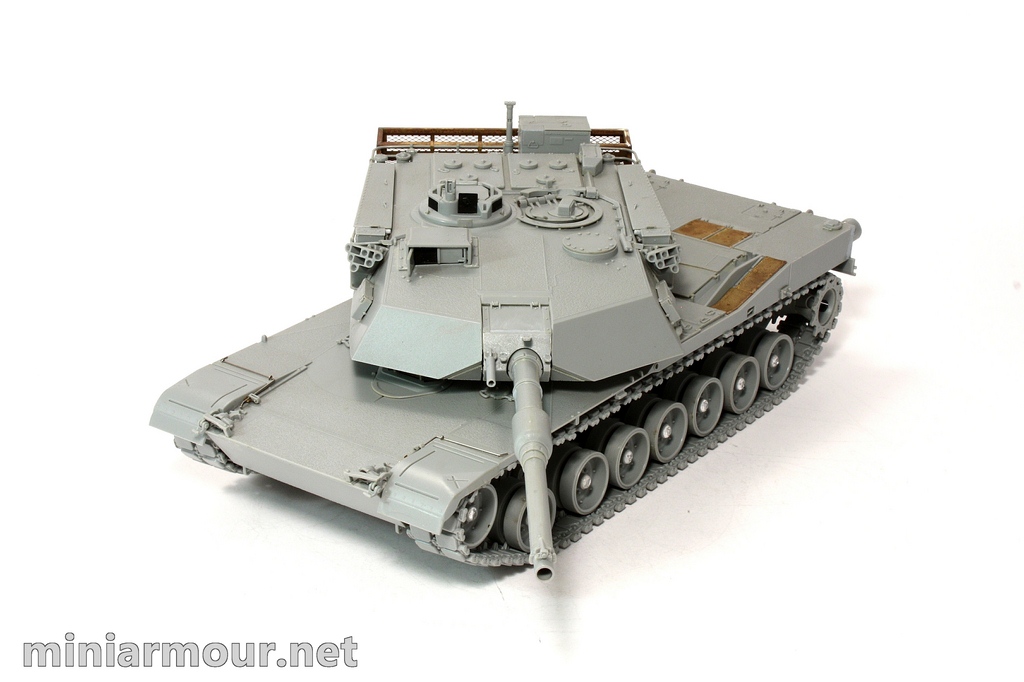
Over the past few days I have put the JSU aside a bit and spent some time meditating about the base I would like to build for it. Nevertheless, I haven’t been sitting idly. I decided to pull out another piece from my collection of unfinished models with the intention to get it to the finish line. I was inspired by the computer game of which I have been writing here few months ago (here) and subject is the M1A1 Abrams from the Operation Iraqi freedom.
Counting how many years it is since the kit was released by Dragon (it is 6 years, really I wouldn’t say) it must have been some time since I started building it. There were two things which were rather quickly obvious from looking at the model after all these years (not that I haven’t seen it since, it has been sitting on my shelf, but I haven’t really paid much attention…):
1. When the model was released, its quality was highly praised and it was earning top scores in reviews. It still is a very good kit, its quality however pales when compared to the Dragon’s most recent releases. The finesse of moulding and ease of build that Dragon is bringing to market these days is way beyond what this kit offers.
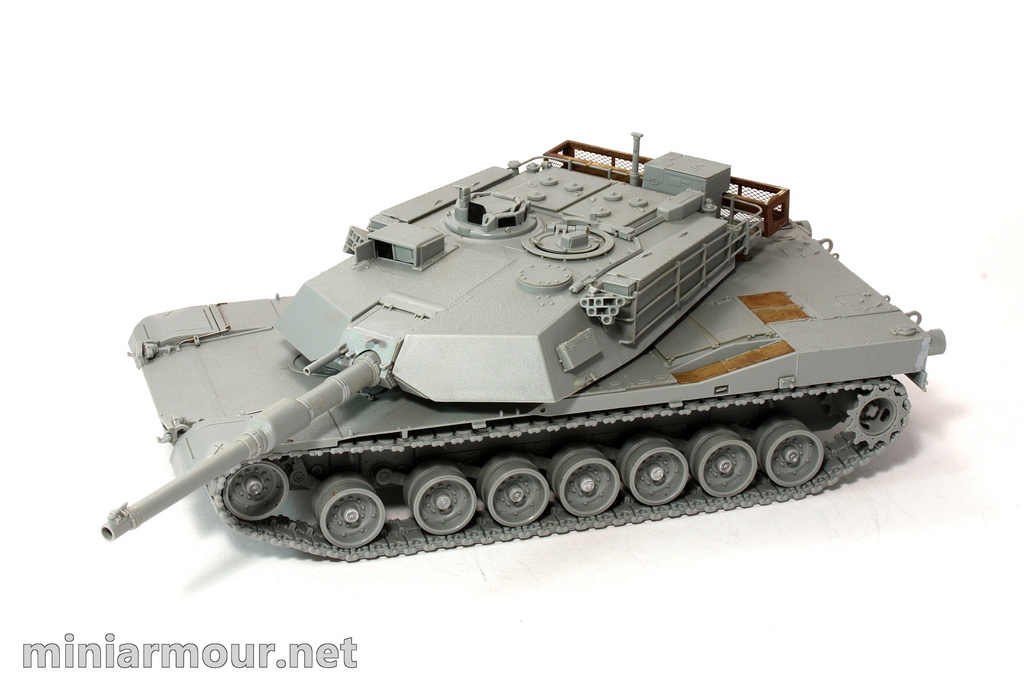
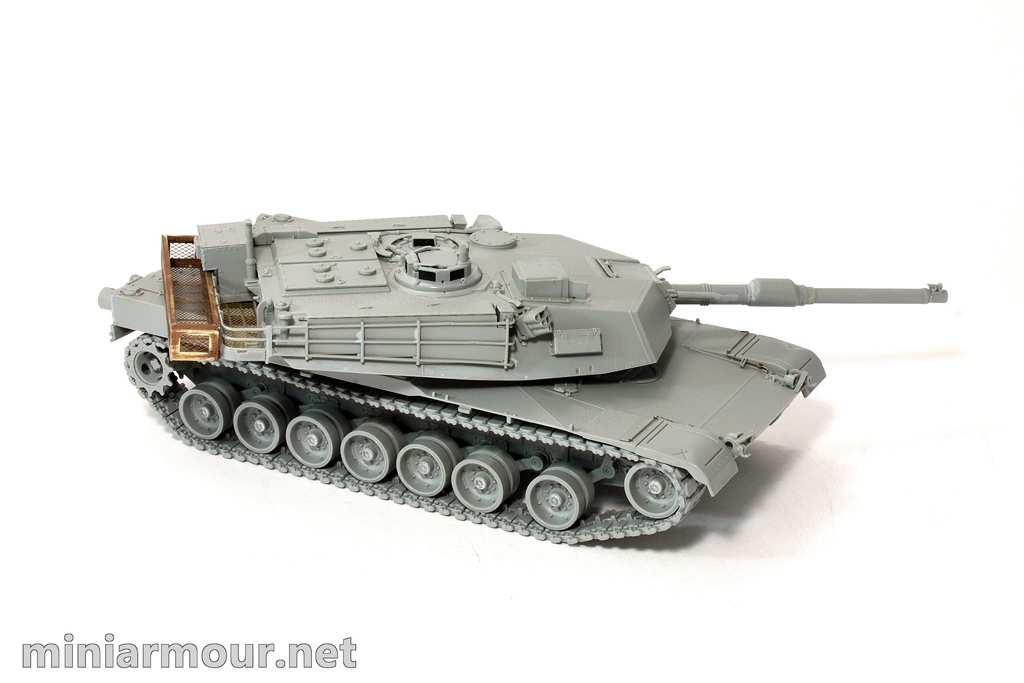
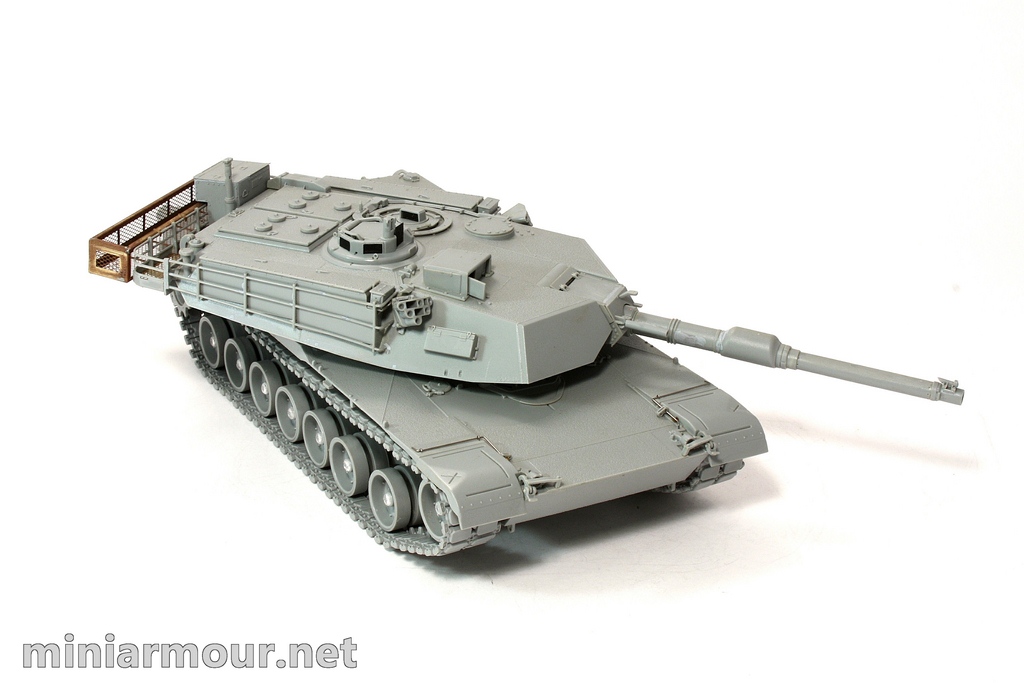
2. I must have learned something about modelling, as I have to be rather critical about my own work on this kit – construction is let’s say not as polished as I strive to achieve these days. One part that I am still quite proud of is the additional basket at the end of the turret, which is made solely from photoetch by soldiering, which done at that time was really quite nice work.
Quick inspection of the kit and instructions revealed that about 90% of the construction was actually already done. I had to add tracks, which was quite straightforward – at least the right track, the left one gave me some more trouble – the usual one, track being half a link short (or long), so I had to play with and with a bit of patience and occasional swearing got it sit nicely. From unknown reason, Dragon has provided the wheel hub caps in clear plastic – i know this puzzled me already years ago, so I had not attached them at that time.
I am now finishing details – tow ropes mounting brackets on the sides of the turret, jerry cans baskets, identification panels, .50 cal by the tank commanders hatch and other small pieces.
I was also going through my boxes with miscellaneous accessories scavenging for a stowage I could use as Abrams were really covered in it. Luckily I have bot long time ago stowage set for Bradley, so there are few pieces there, which will come handy.
For the markings I do plan to use decals from the Echelon set of the markings of the 3rd Infantry Division (either the tank “American Airlines Flight 77” or “United Airlines Flight 93”), which has also been sitting in my collection for a while.
For anybody building the tank, I can strongly recommend the Concord’s book “Thunder Run” from the Mini Color Series, which provides very useful reference and large number of photographs from the fighting during the drive to Baghdad. Especially in terms of configuration of stowage, recognition panels and markings it is really valuable source.

Categories: My models, Uncategorized

I concur to everything you have said about the model as I have just about finished my build. I am looking forward to this build. As you are awear I love modern AFVs lol
Hi Peter, I thought you might interested in this one… I like this machine a lot and photos from OIF just provide so much of an inspiration…