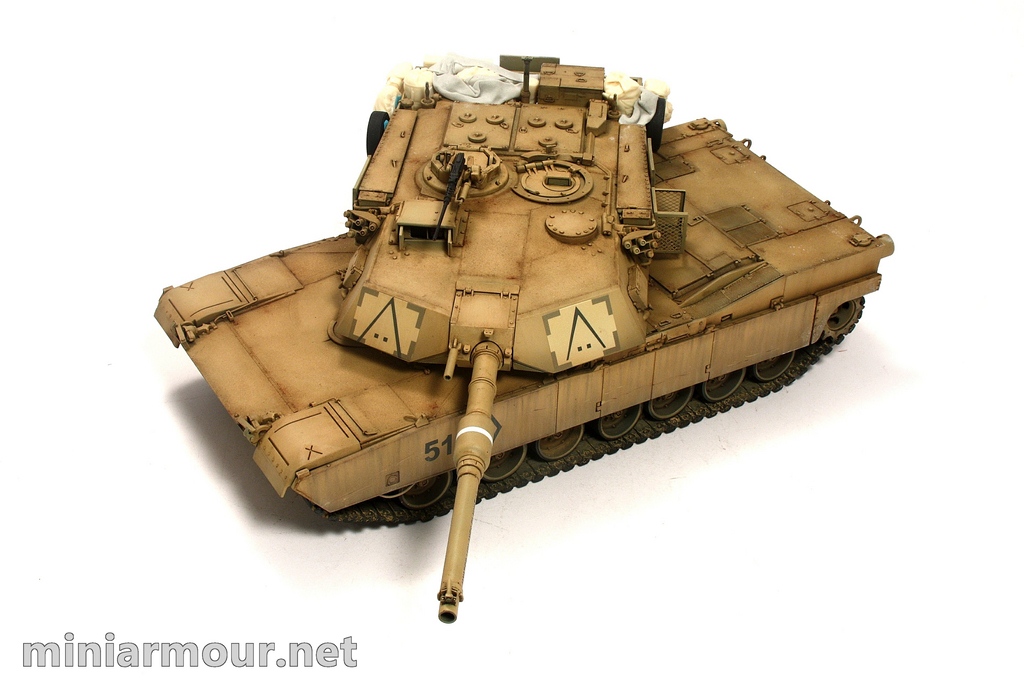
Few more weathering steps on the Abrams. I have added streaks on the side skirts using AK’s product – first dark one (I think DAK one) and then using the dust. Dark streaks were first applied with the brush along the edges of the skirts and then spread using vertical strokes of a paintbrush. Dust effects were first airbrushed along the lower edge of the skirts and then spread in a similar way with brush. I intentionally wanted to have the streaking prominent, I was inspired by the book which I have mentioned in my previous post. Authors recall numerous occasions of bad weather, but I really like the one most bizarre – when it was raining mud. Sounds hard to believe, but apparently mixture of dust and sand storm and a rain storm produces the effect of raining mud… So one can only imagine what the vehicle must have looked like in such a climate. (Most of the photos from the operation show the vehicles relatively clean, almost dull in finish, but I guess, this is just because no one was really taking pictures when the weather was miserable…).
I have also used unthinned wash from the AK range to darken the crevices and corners on the surface. I have also airbrushed it around the turret ring, though this will be barely visible once the turret is mounted. This added much more depth to the surface and it’s starting to look according to my vision.
I have also decided it’s time to complete the construction by adding the hatches, machine guns and stowage. Hatches were easy, I have painted them in the same way as the rest of the vehicle. They are little bit lighter as I might have lightened the last highlight a bit more, but I think this just adds to the colour variation of the model. Washes were used to tone the colour difference down and harmonize the look.
On the .50 Cal I have decided to replace the barrel with the voyager’s metal version, I think the look is much better than the plastic one. Both barrels were painted in black and then brushed with graphite using make-up brushes (on the application technique see my older post here) to highlight the edges and raised details.
I was putting off the stowage as long as I could, somehow this is one of my least-liked phases of the model building, but now I had to finish it off. I have used miscellaneous resin stowage items primarily from my yet unused Verlinden’s Bradley stowage set. These pieces by themselves would not be enough however as they in no way reflect the shape of the stowage areas, so I added few tarps rolled from Magic sculp. I attached the resin pieces on the model using blue-tac and shaped the magic sculp in a way that blends the stowage into more homogeneously looking set. Since I had to disassemble the whole set for painting, I hope I will still be able to put it together again.


Categories: My models

Looks like your M1 will be finished shortly. Great work Vlad.